Knit Hat
About:
Hats are surprisingly easy to make and a great way to help those in your community! Receiving a handcrafted hat not only warms the recipient's head, but their heart too. A handcrafted item is a great way to remind others that they matter and are loved! Below are instructions on how to make a hat for any size head, preemie to adult.
Time: 7 hours on average, varies depending on size
Recipient: Children, Senior Citizens, Babies, Cancer Patients, Homeless, Veterans, Orphans, Dementia Patients, Other Illness Patients, Abuse Survivors
Donation Location: Hats are helpful for all people, so they can be donated just about anywhere. Make sure you contact the location you want to donate your hat to first, so you know if they are accepting blankets. If you are donating to a national organization check out their website before beginning for guidelines on colors and sizes they need.
- National: Warm Up America (check under “Current Needs”), Operation Gratitude (veterans), Knots of Love (cancer patients), Crochet for Cancer (cancer patients), Hat Box Foundation
- Local: Homeless shelters, women’s shelters, hospitals, nursing homes, senior centers, orphanages, cancer treatment centers, oncology office, veteran centers, dementia care facilities
Materials
- Yarn
- Any size needle
- Yarn needle
- Ruler
Instructions
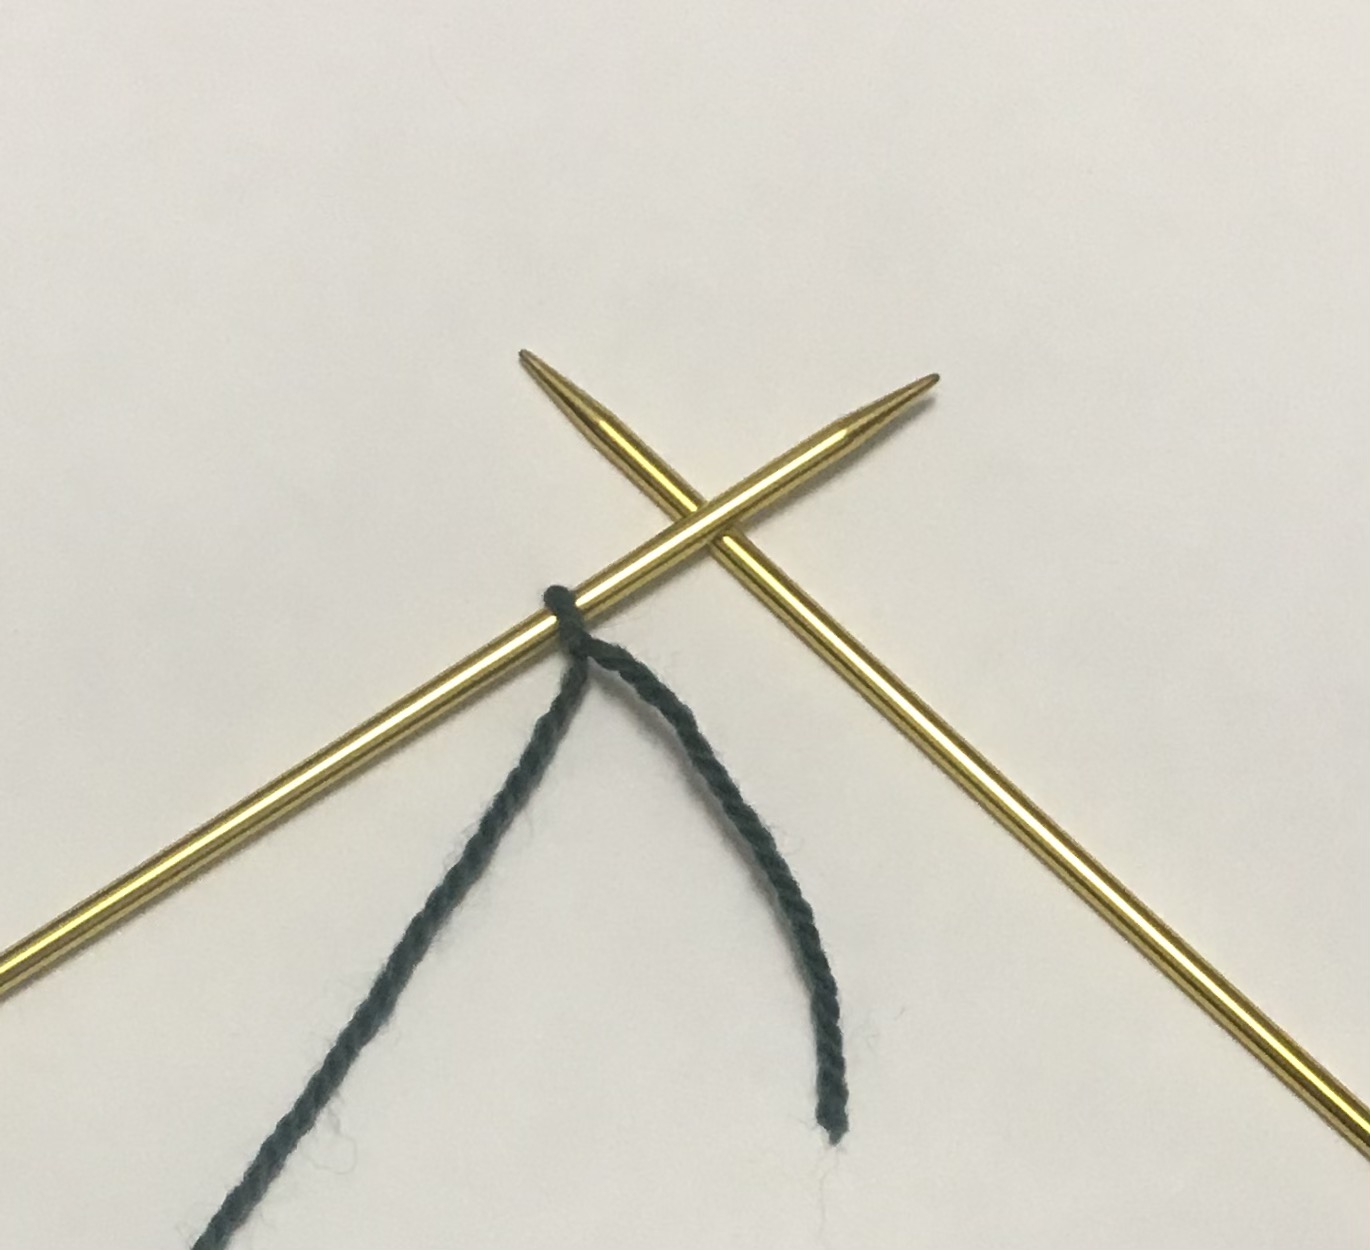
- Put a slipknot on your needle and cast on until at the desired width. Desired width is the circumference you want minus an inch (the hat will stretch, so to make it fit snug you have to do an inch smaller circumference).
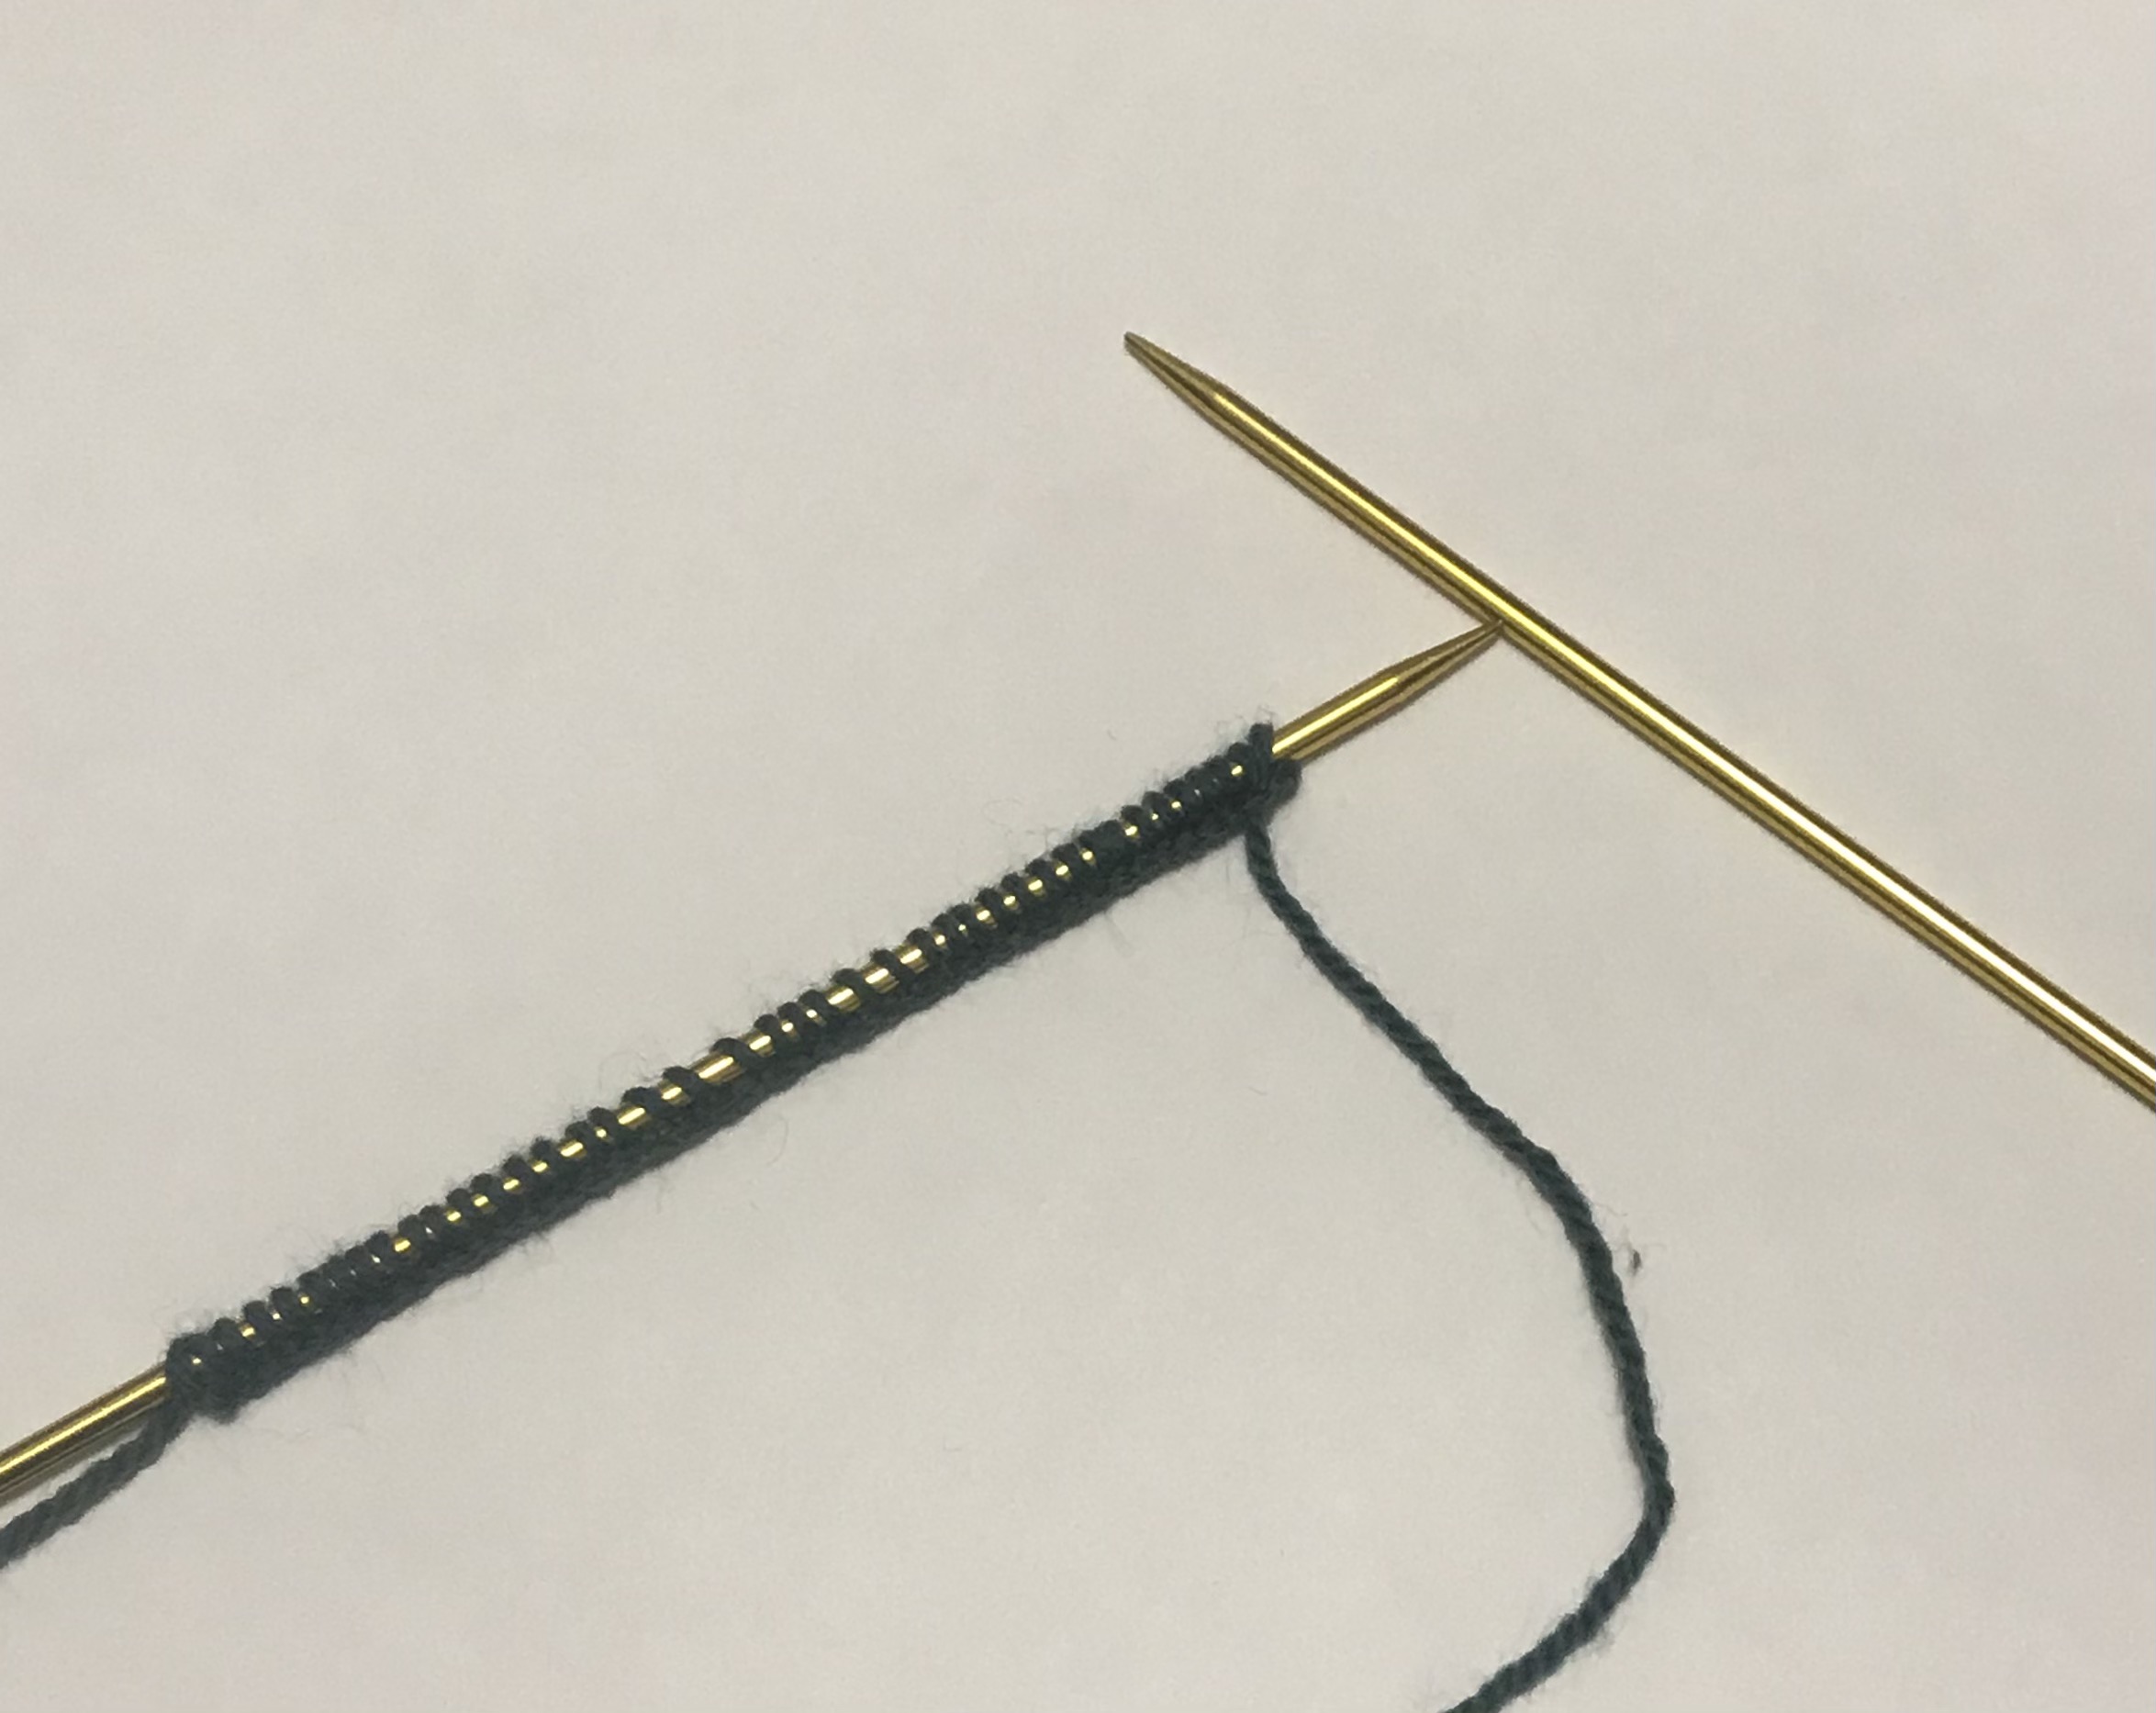
- Knit every row until desired length (height of hat)
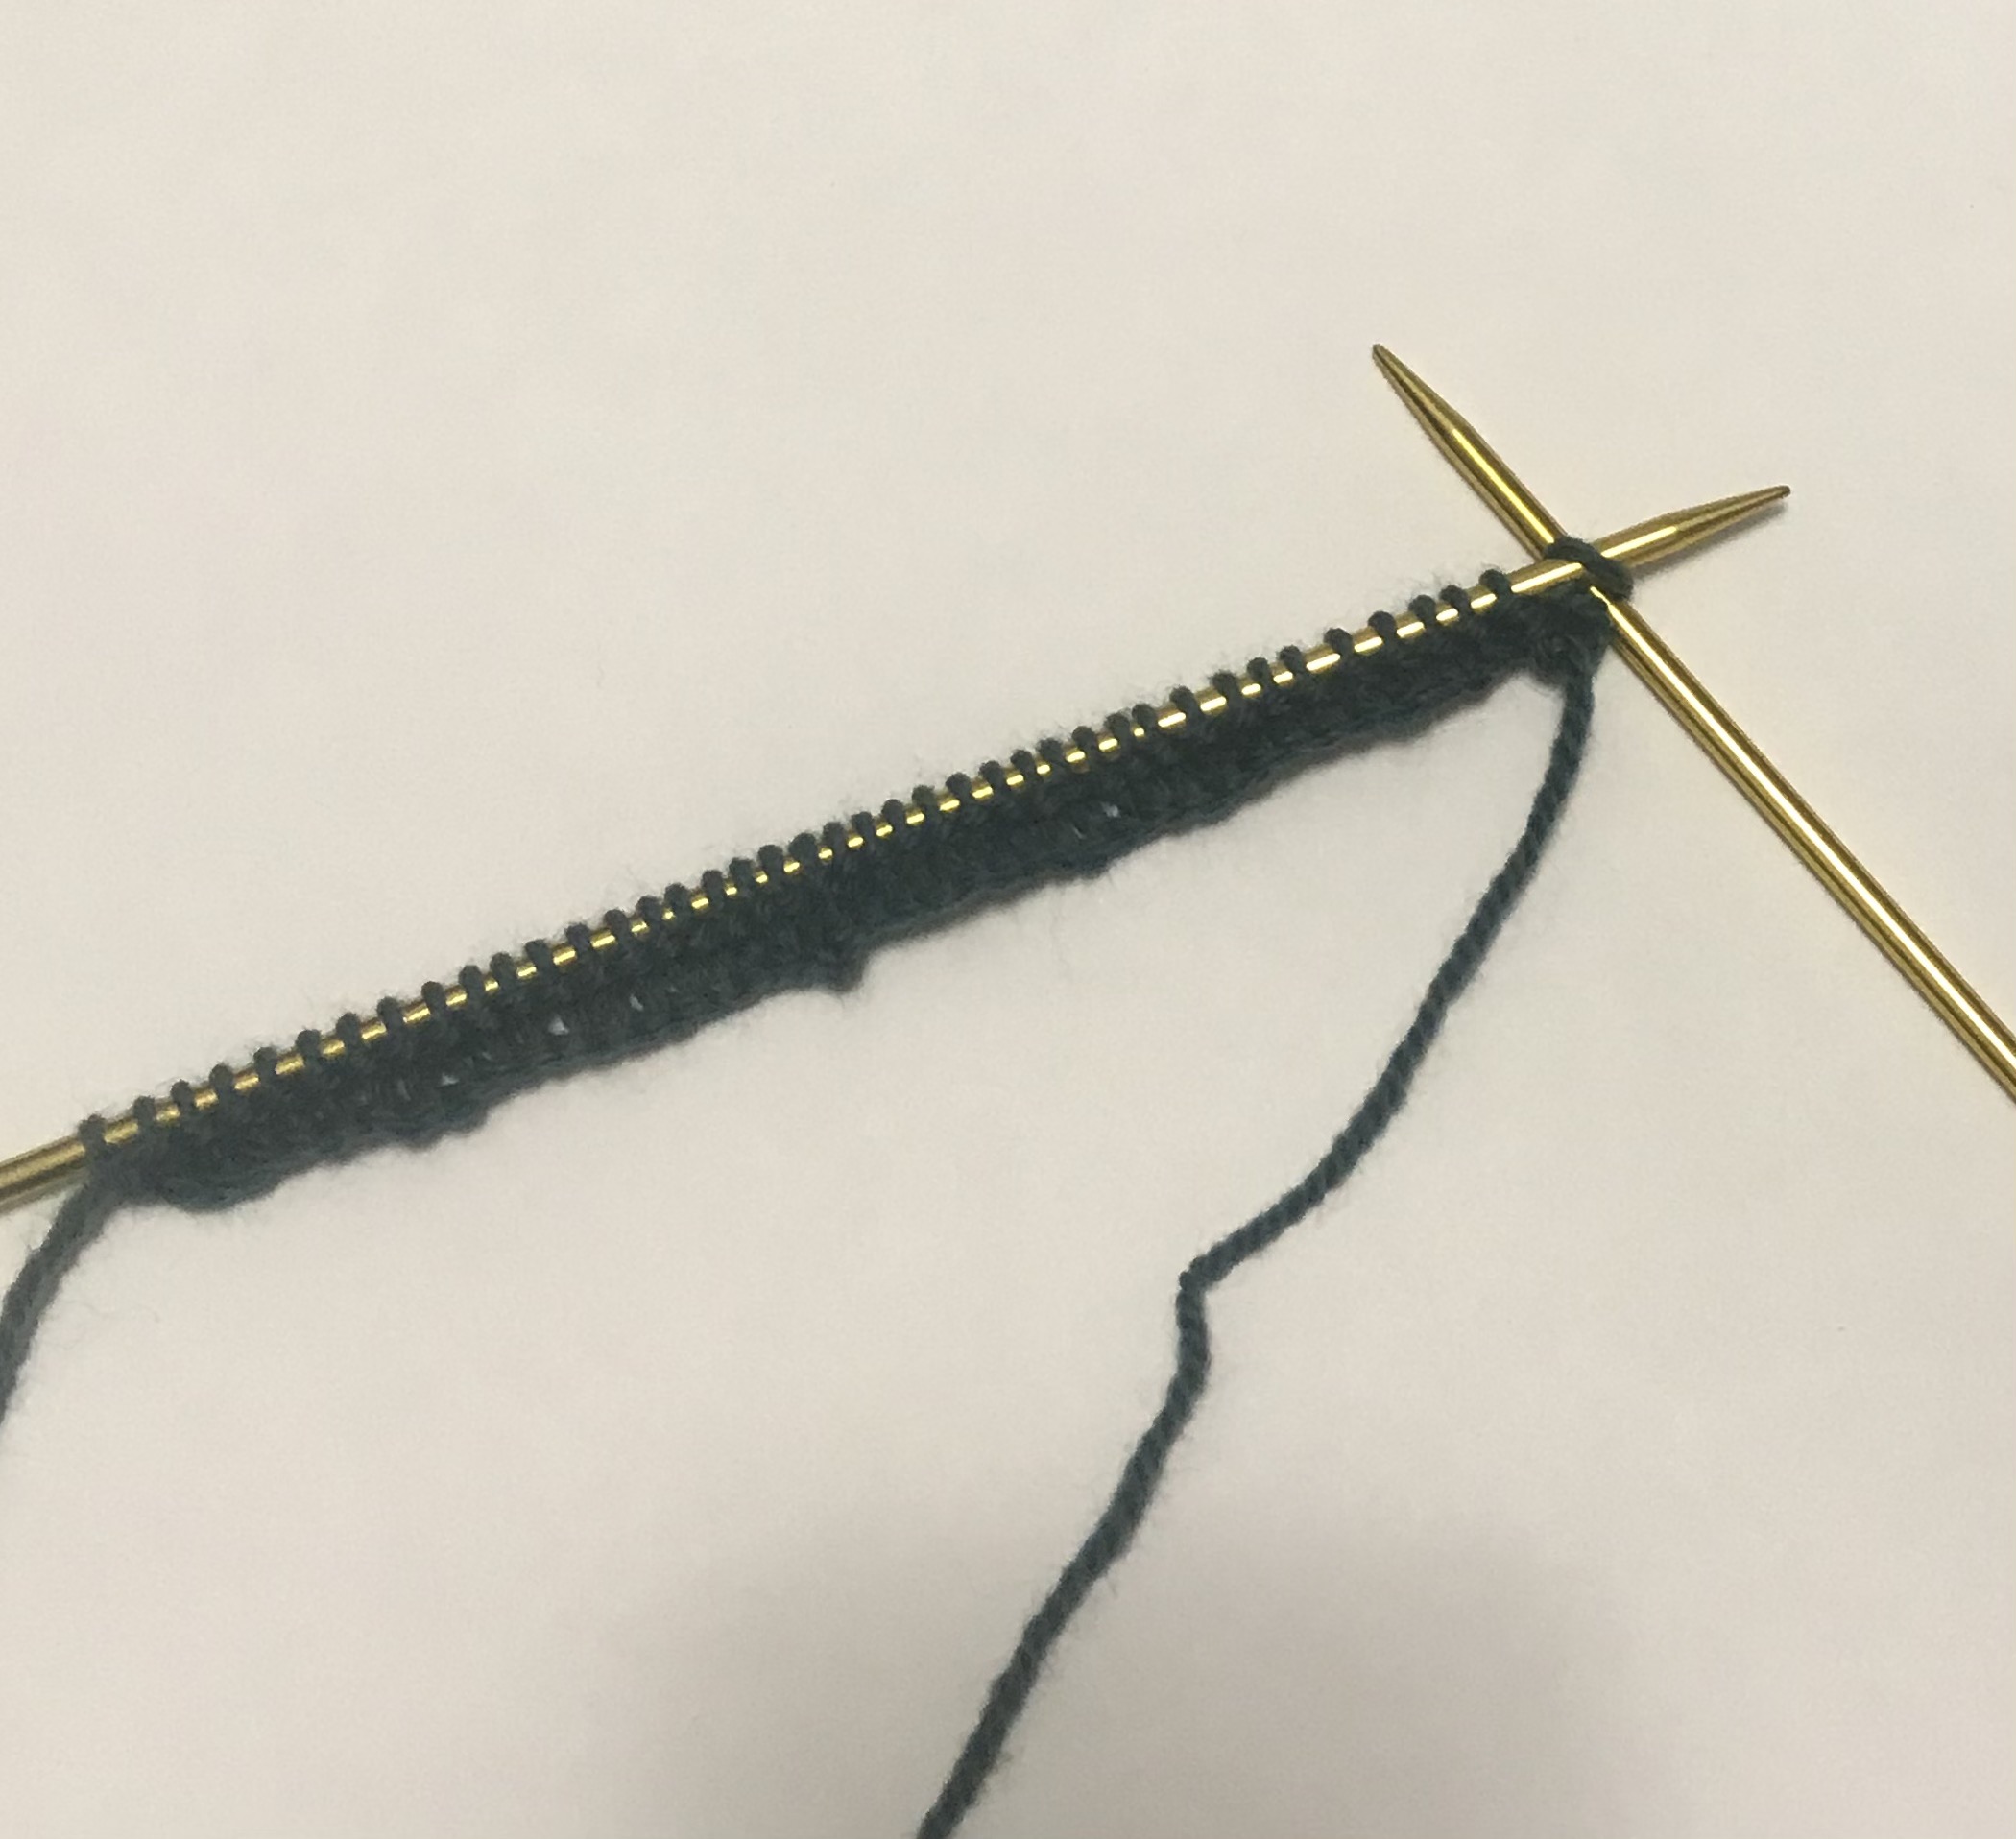
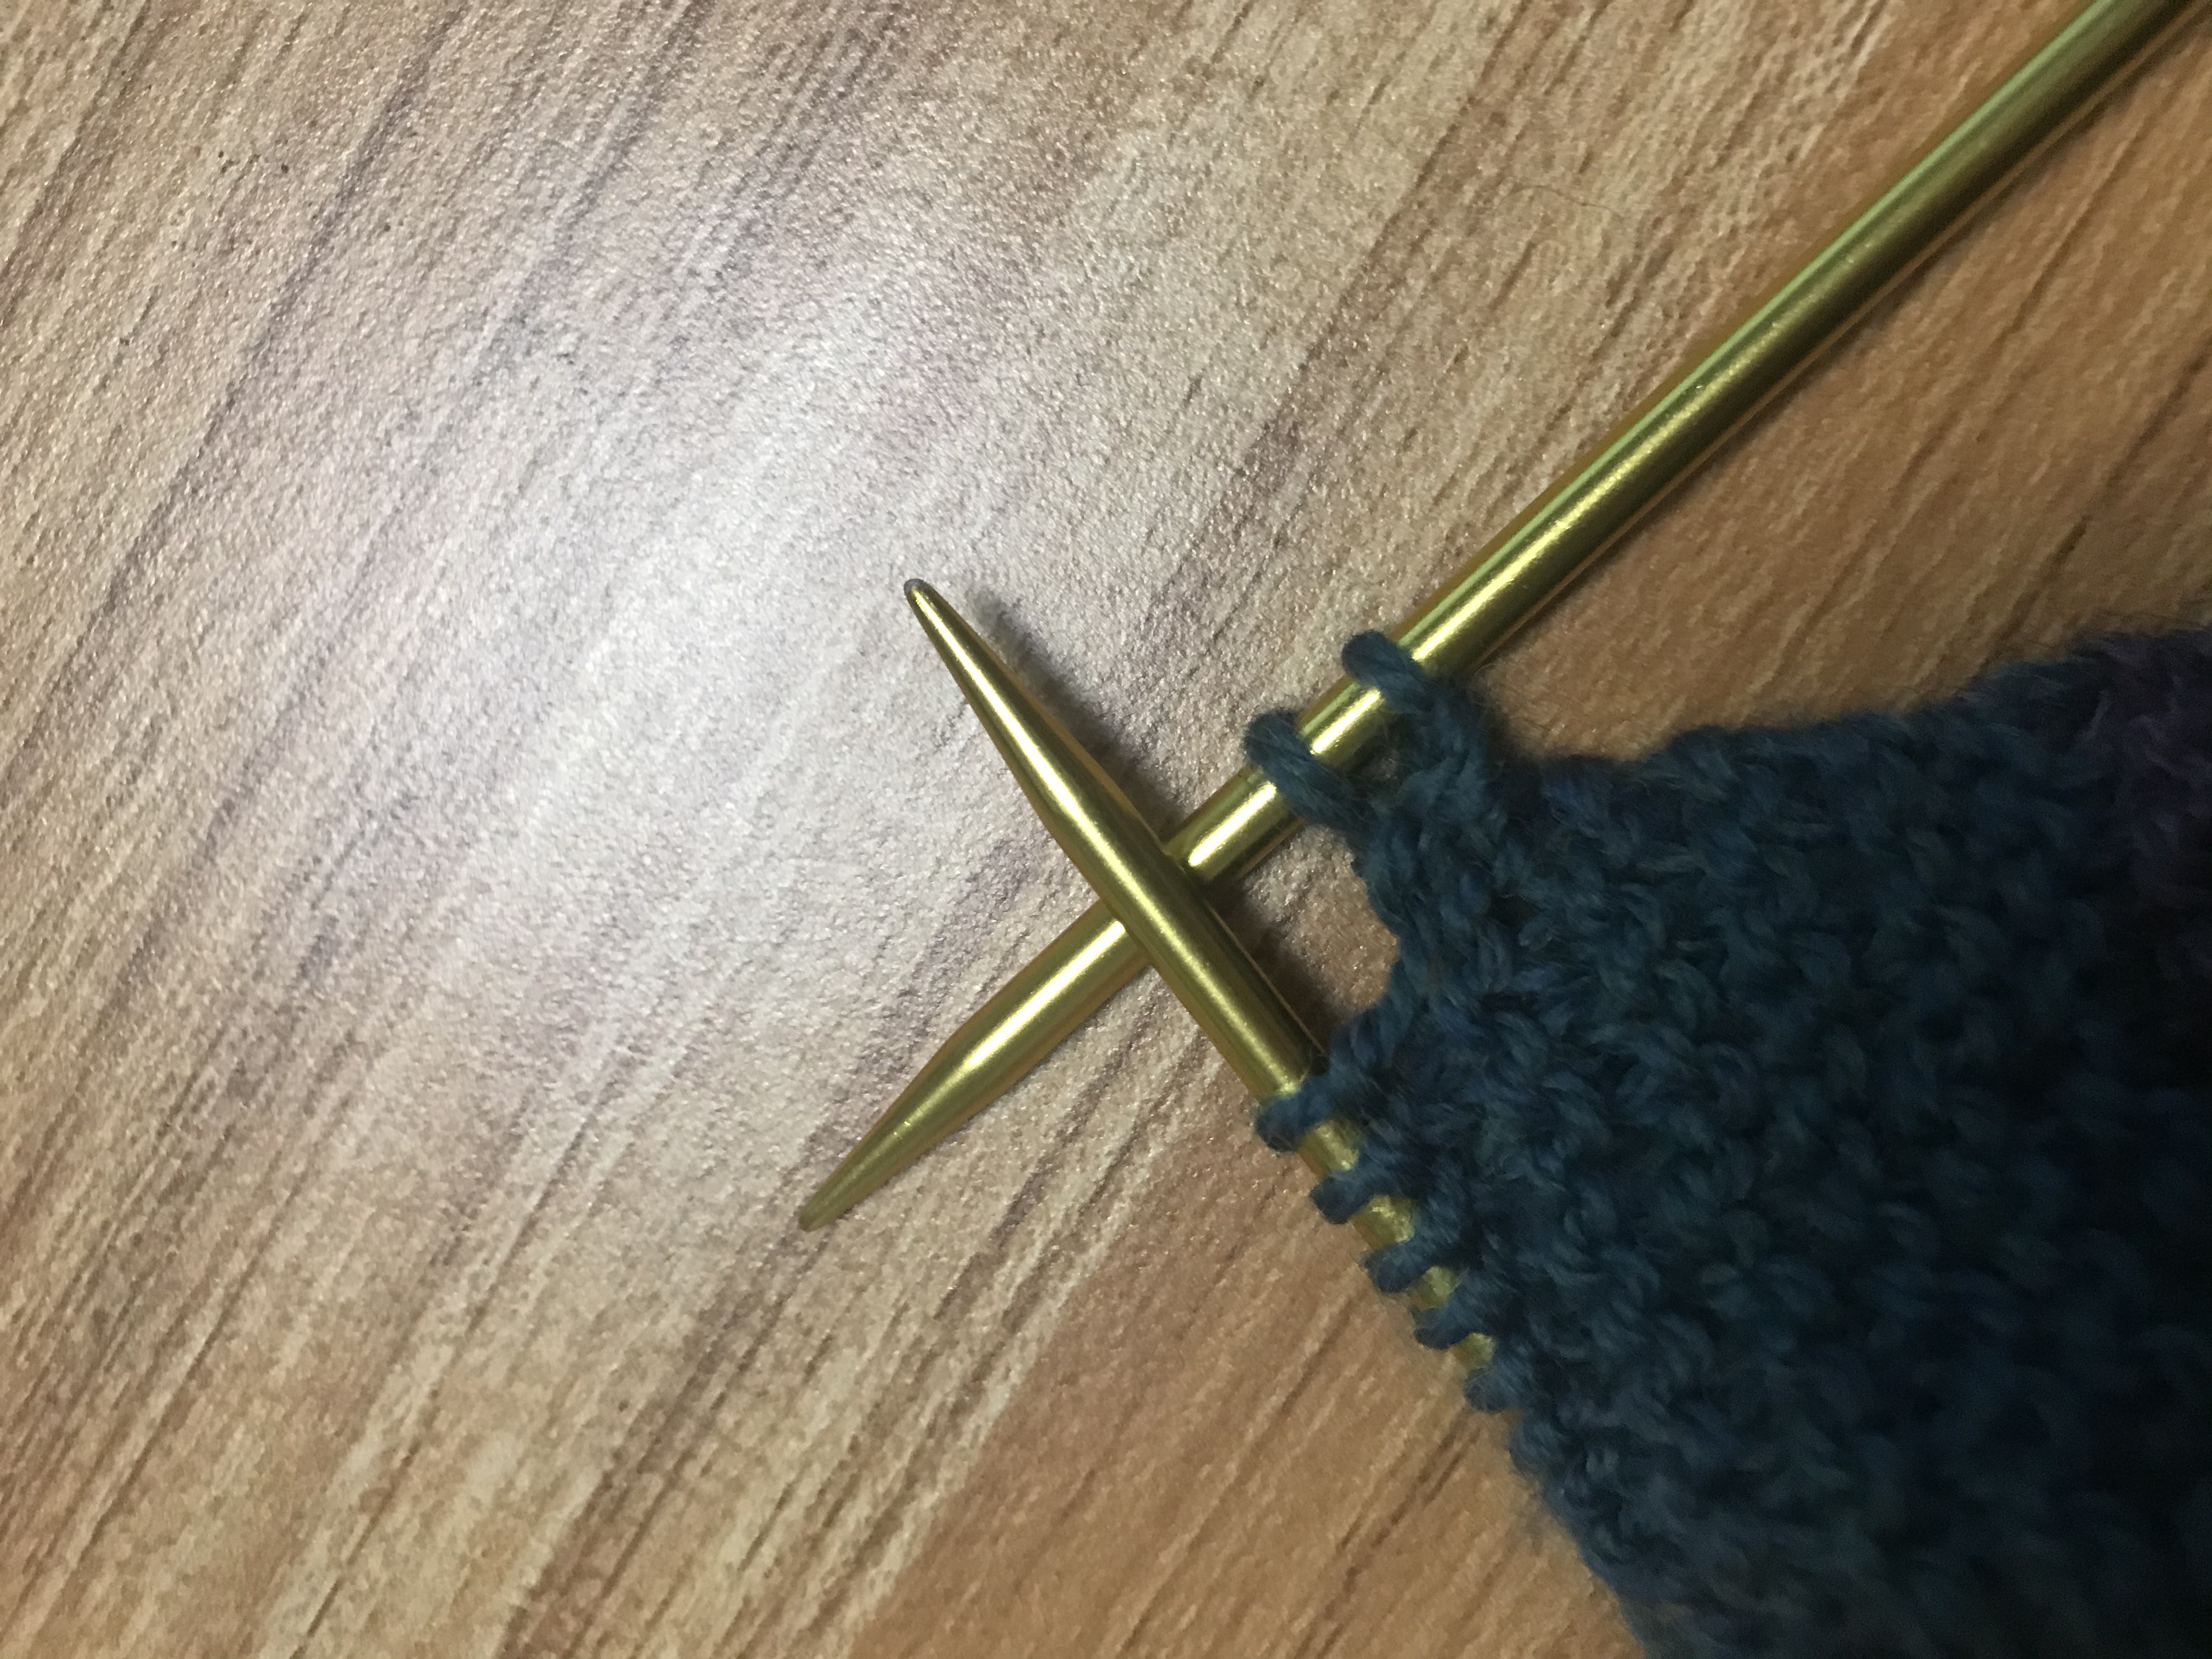
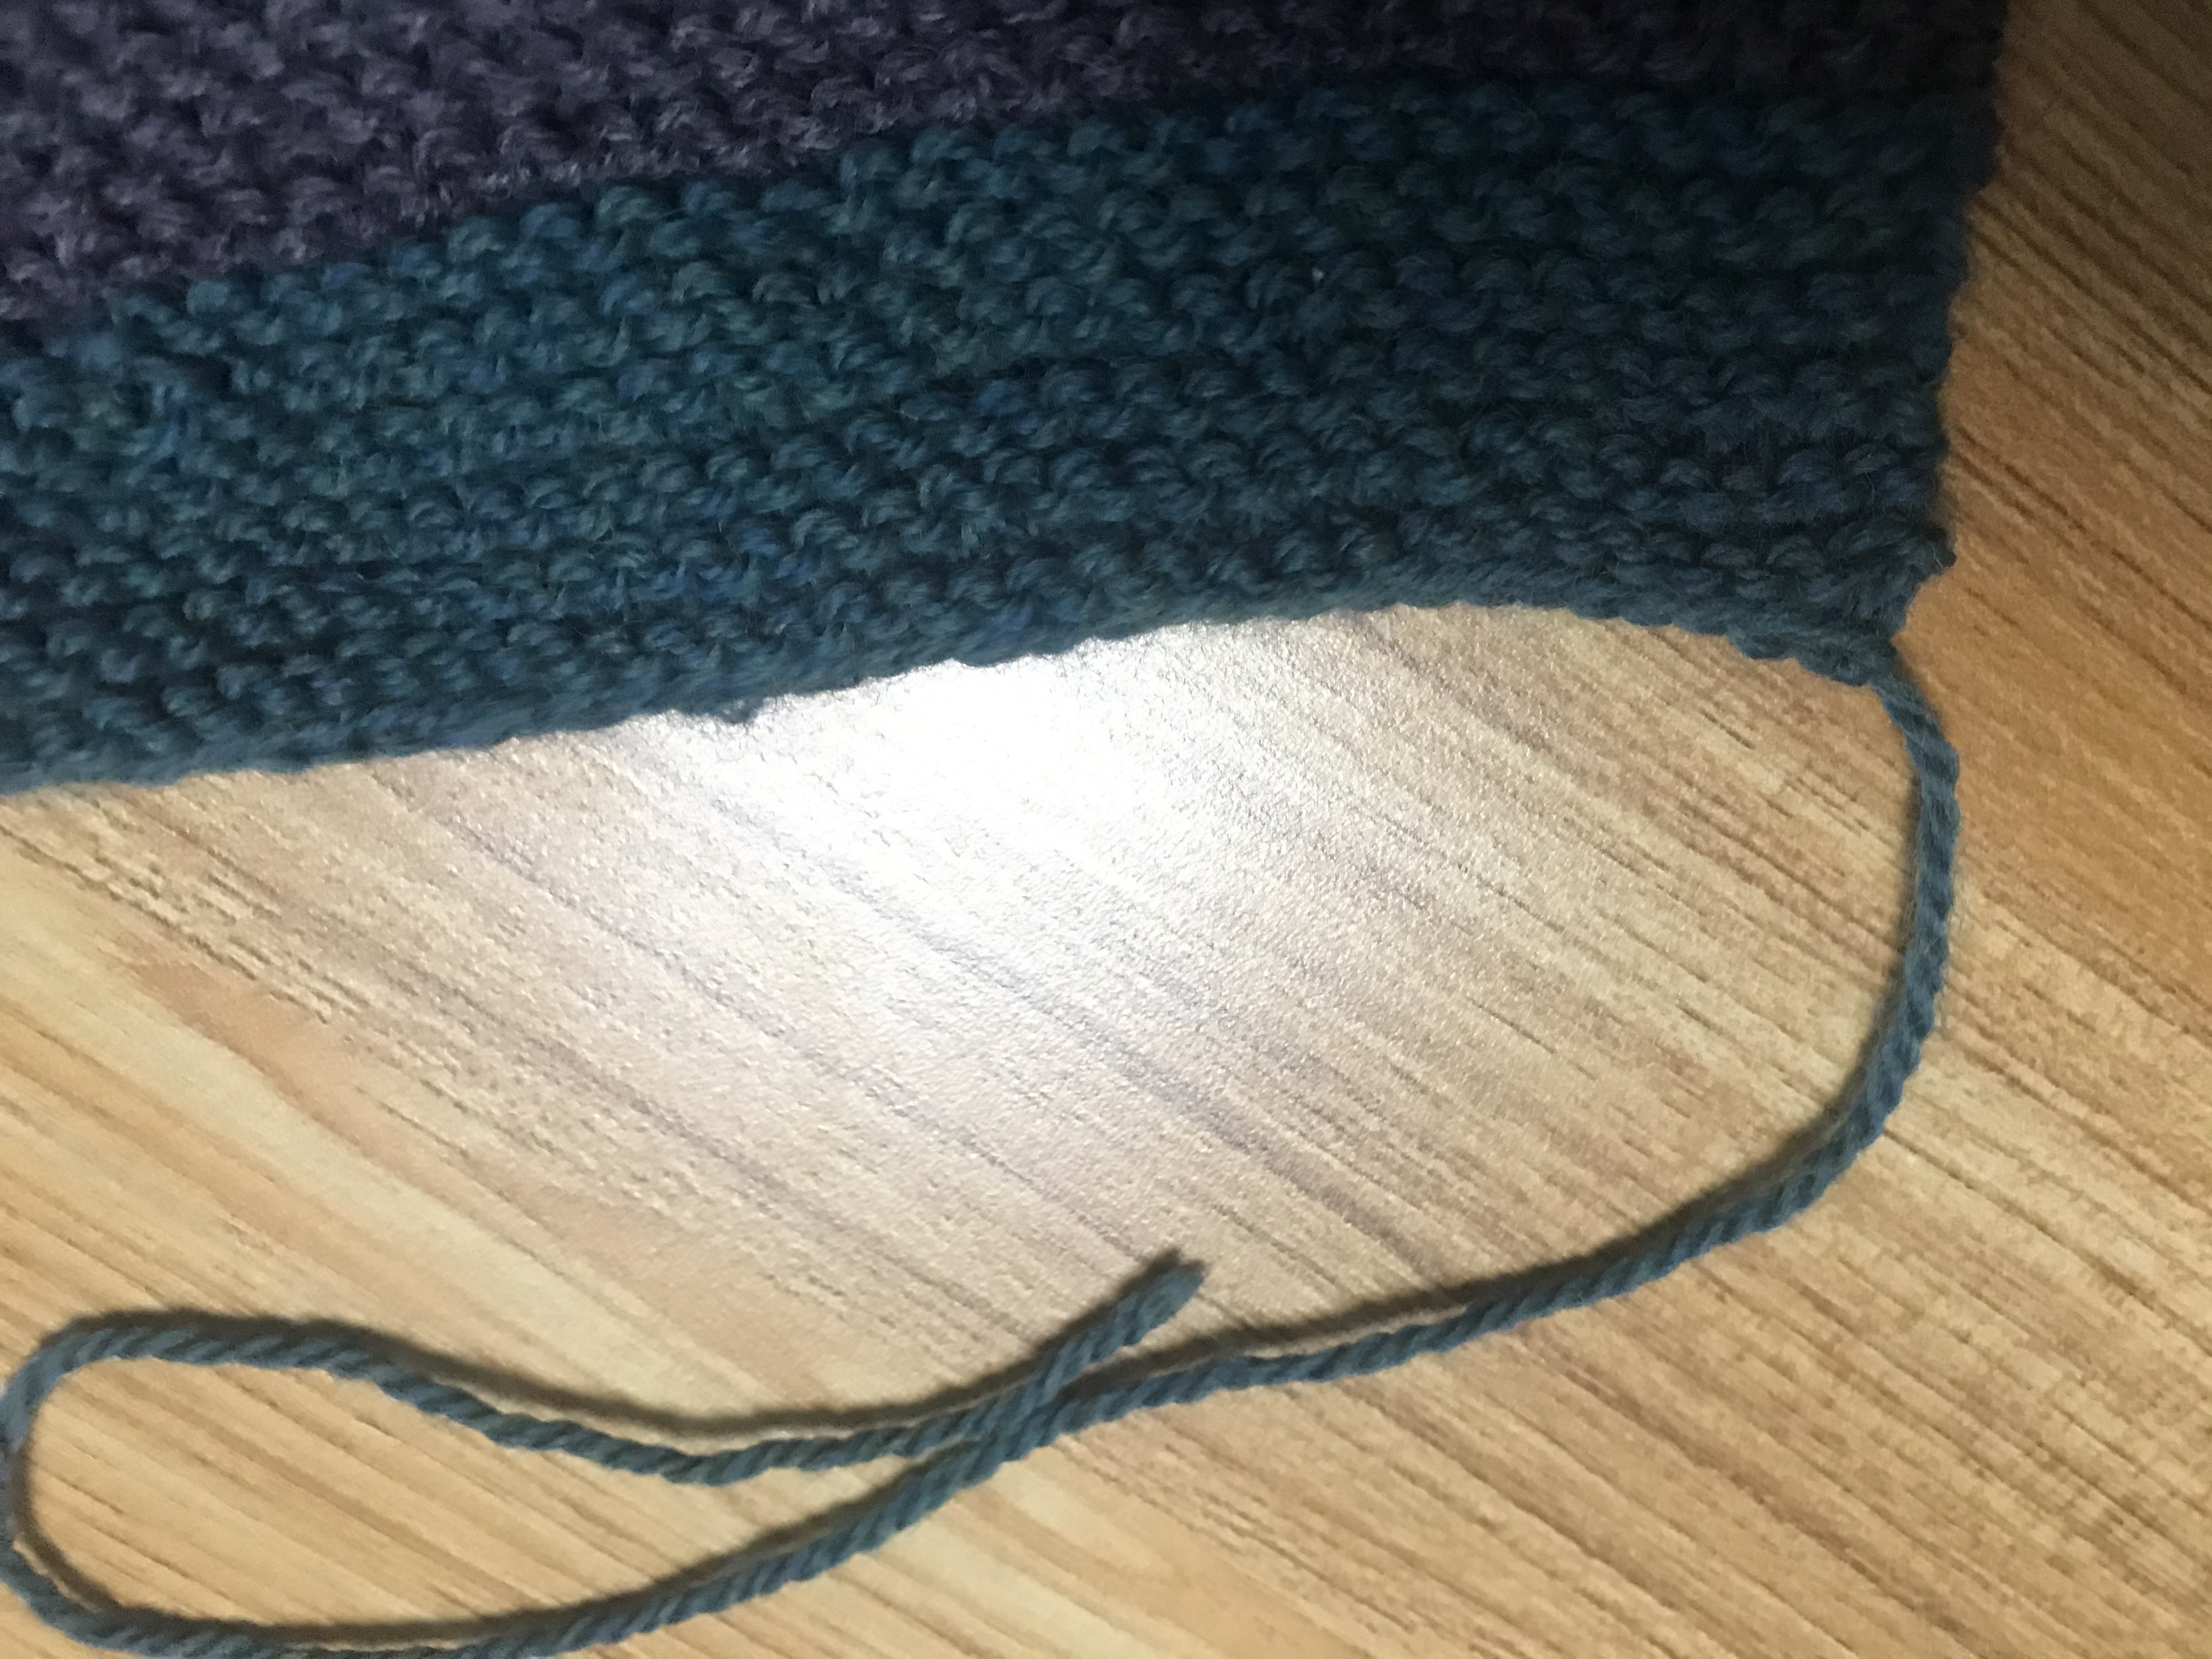
- Bind off your piece
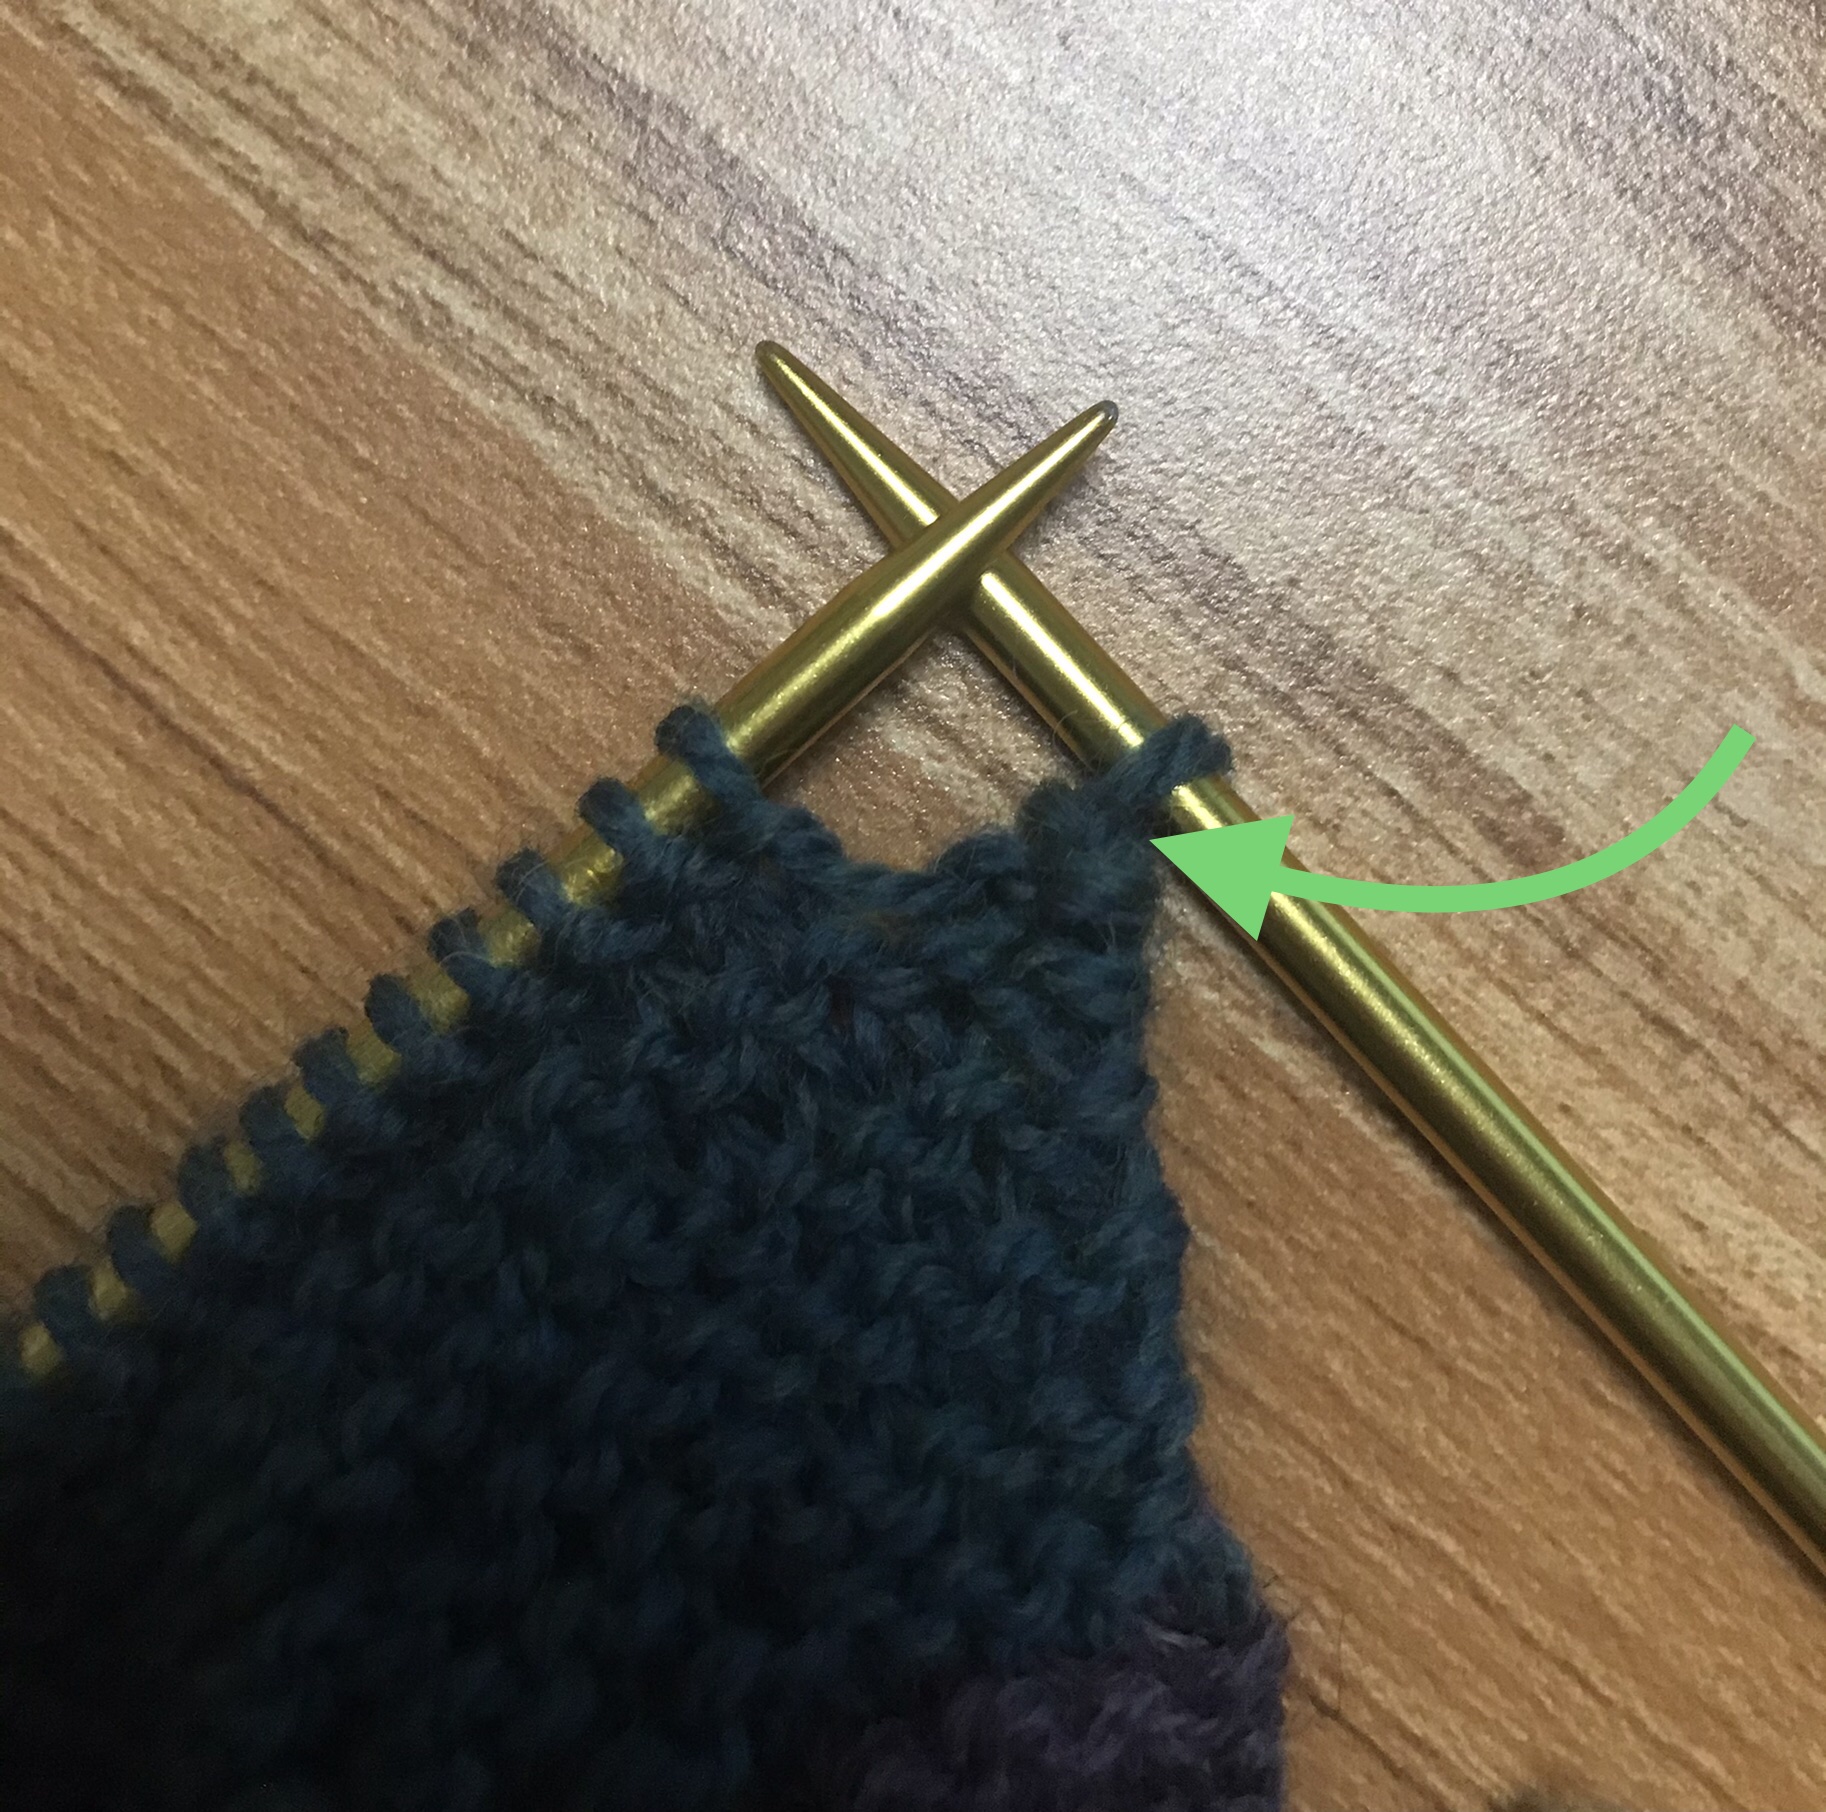
- Do this by knitting the first two stitches, then pull the first stitch over the second and off the needle.

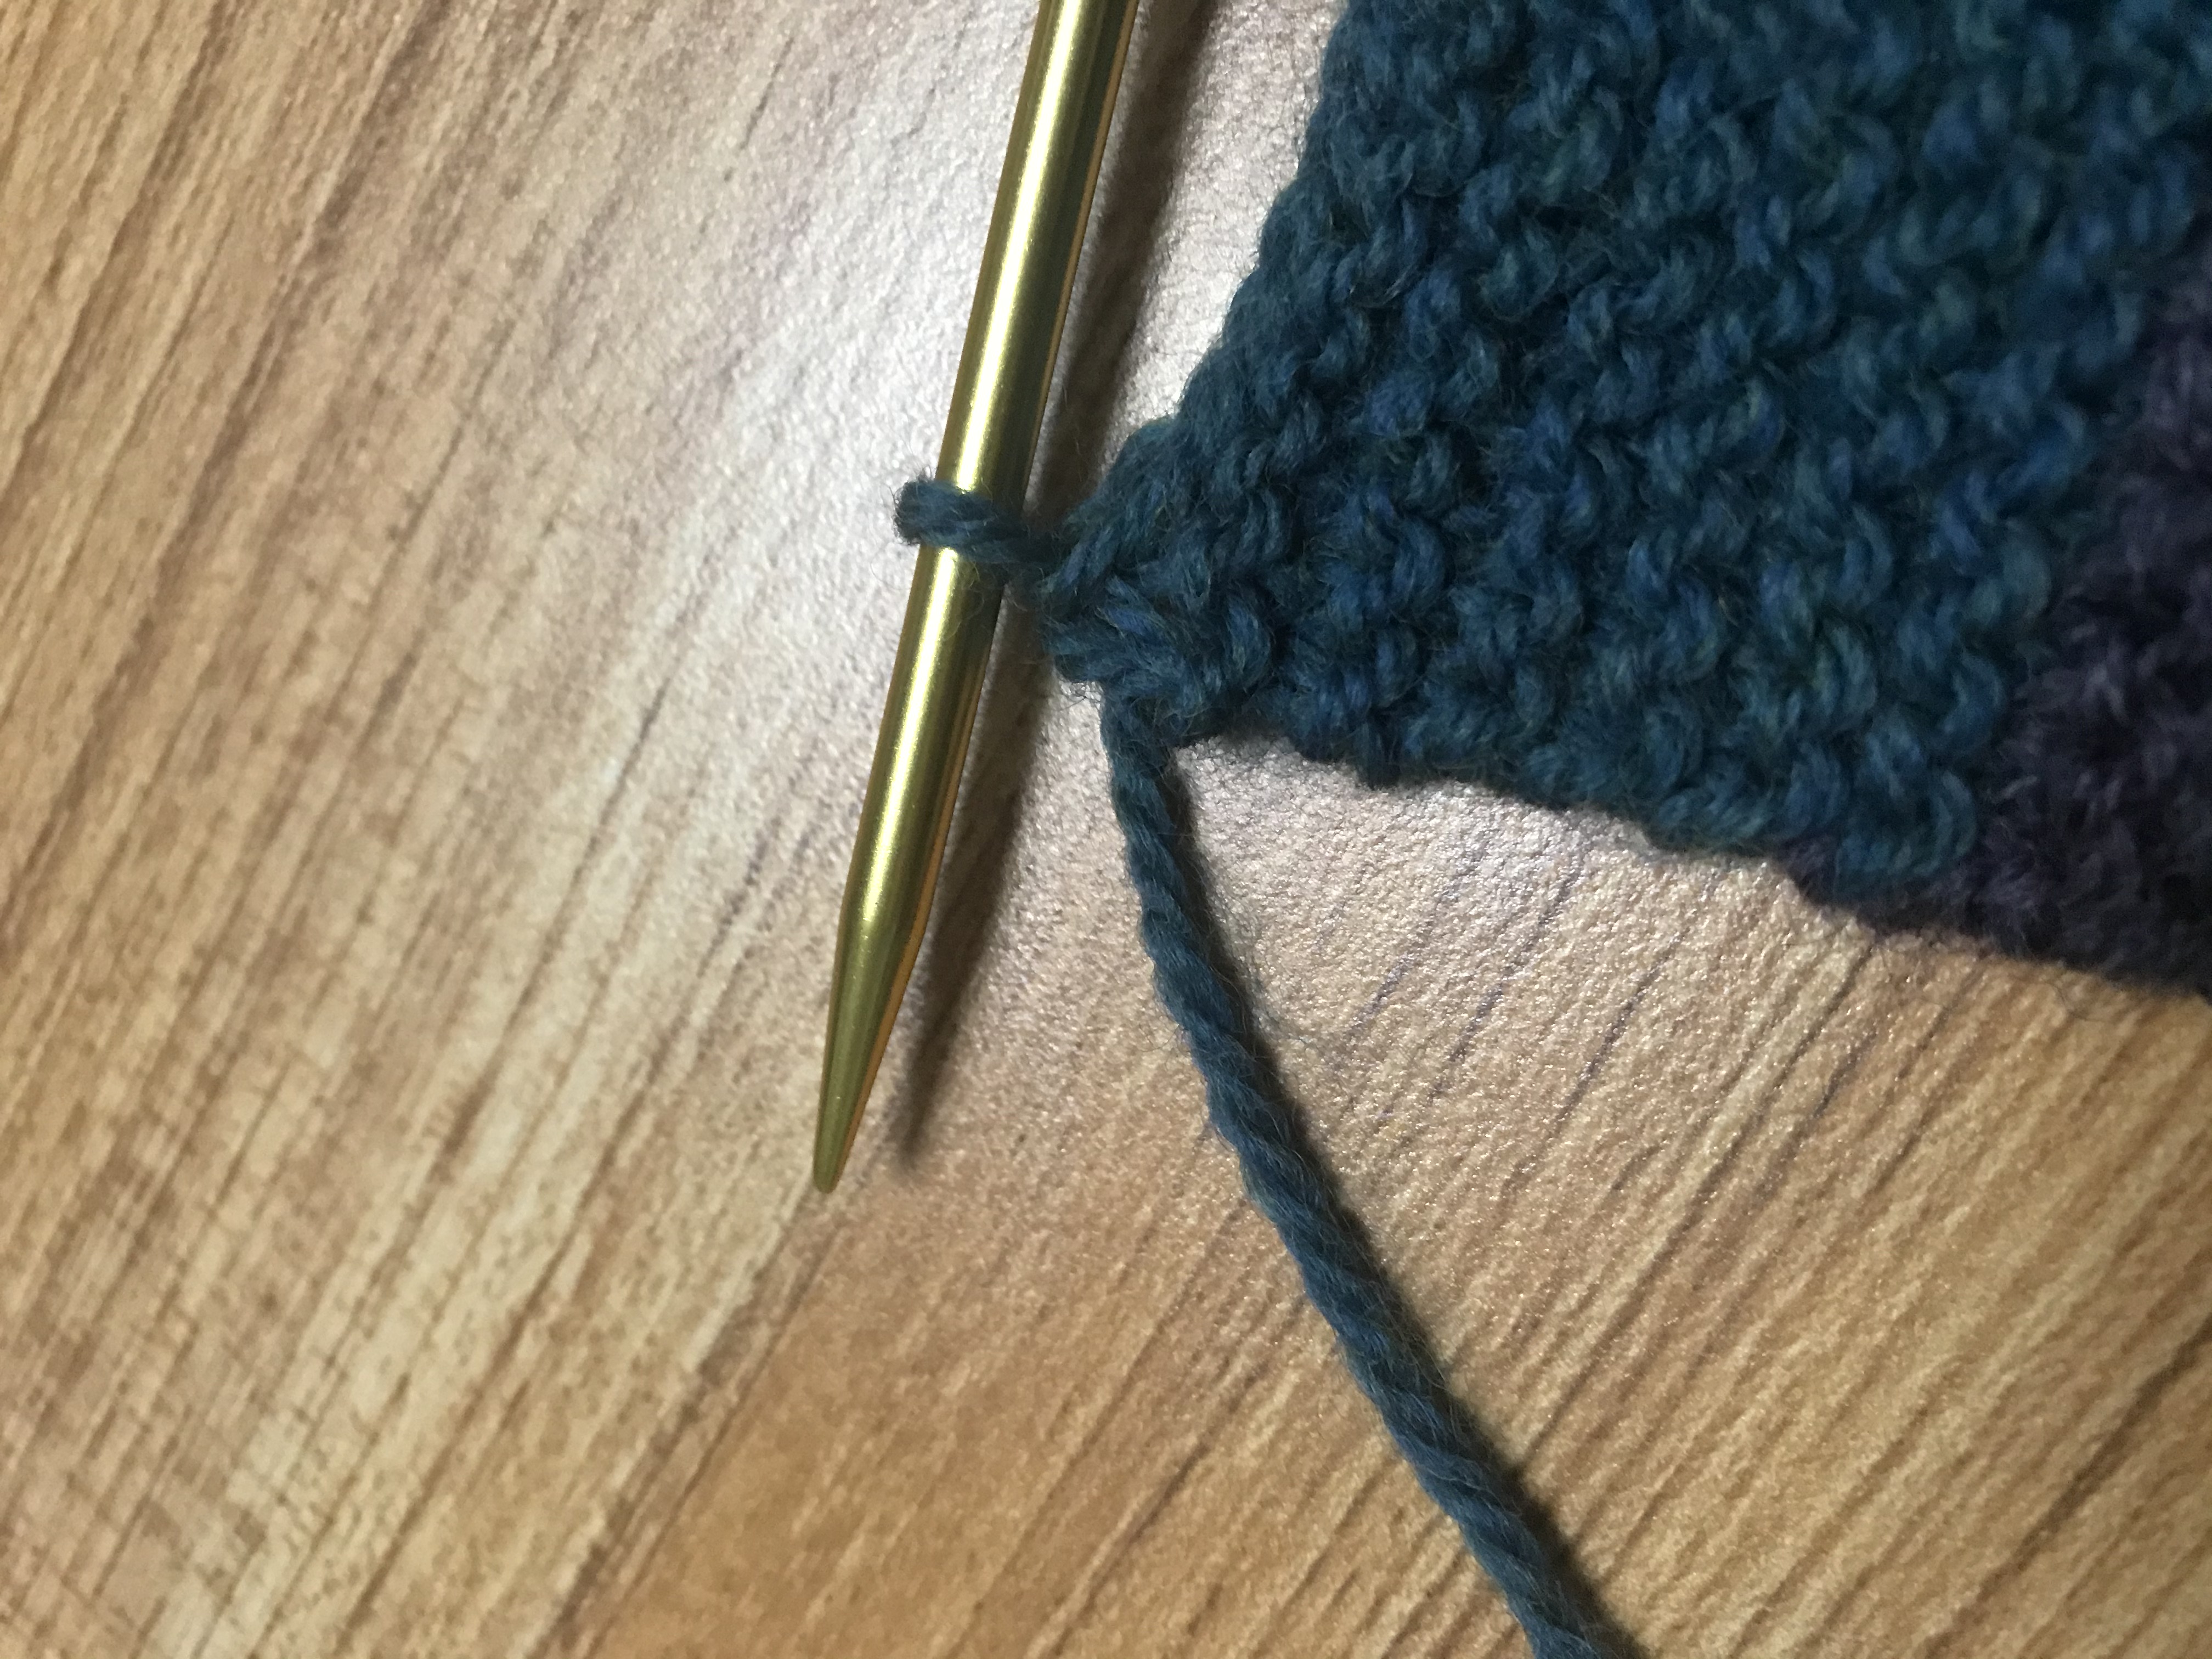
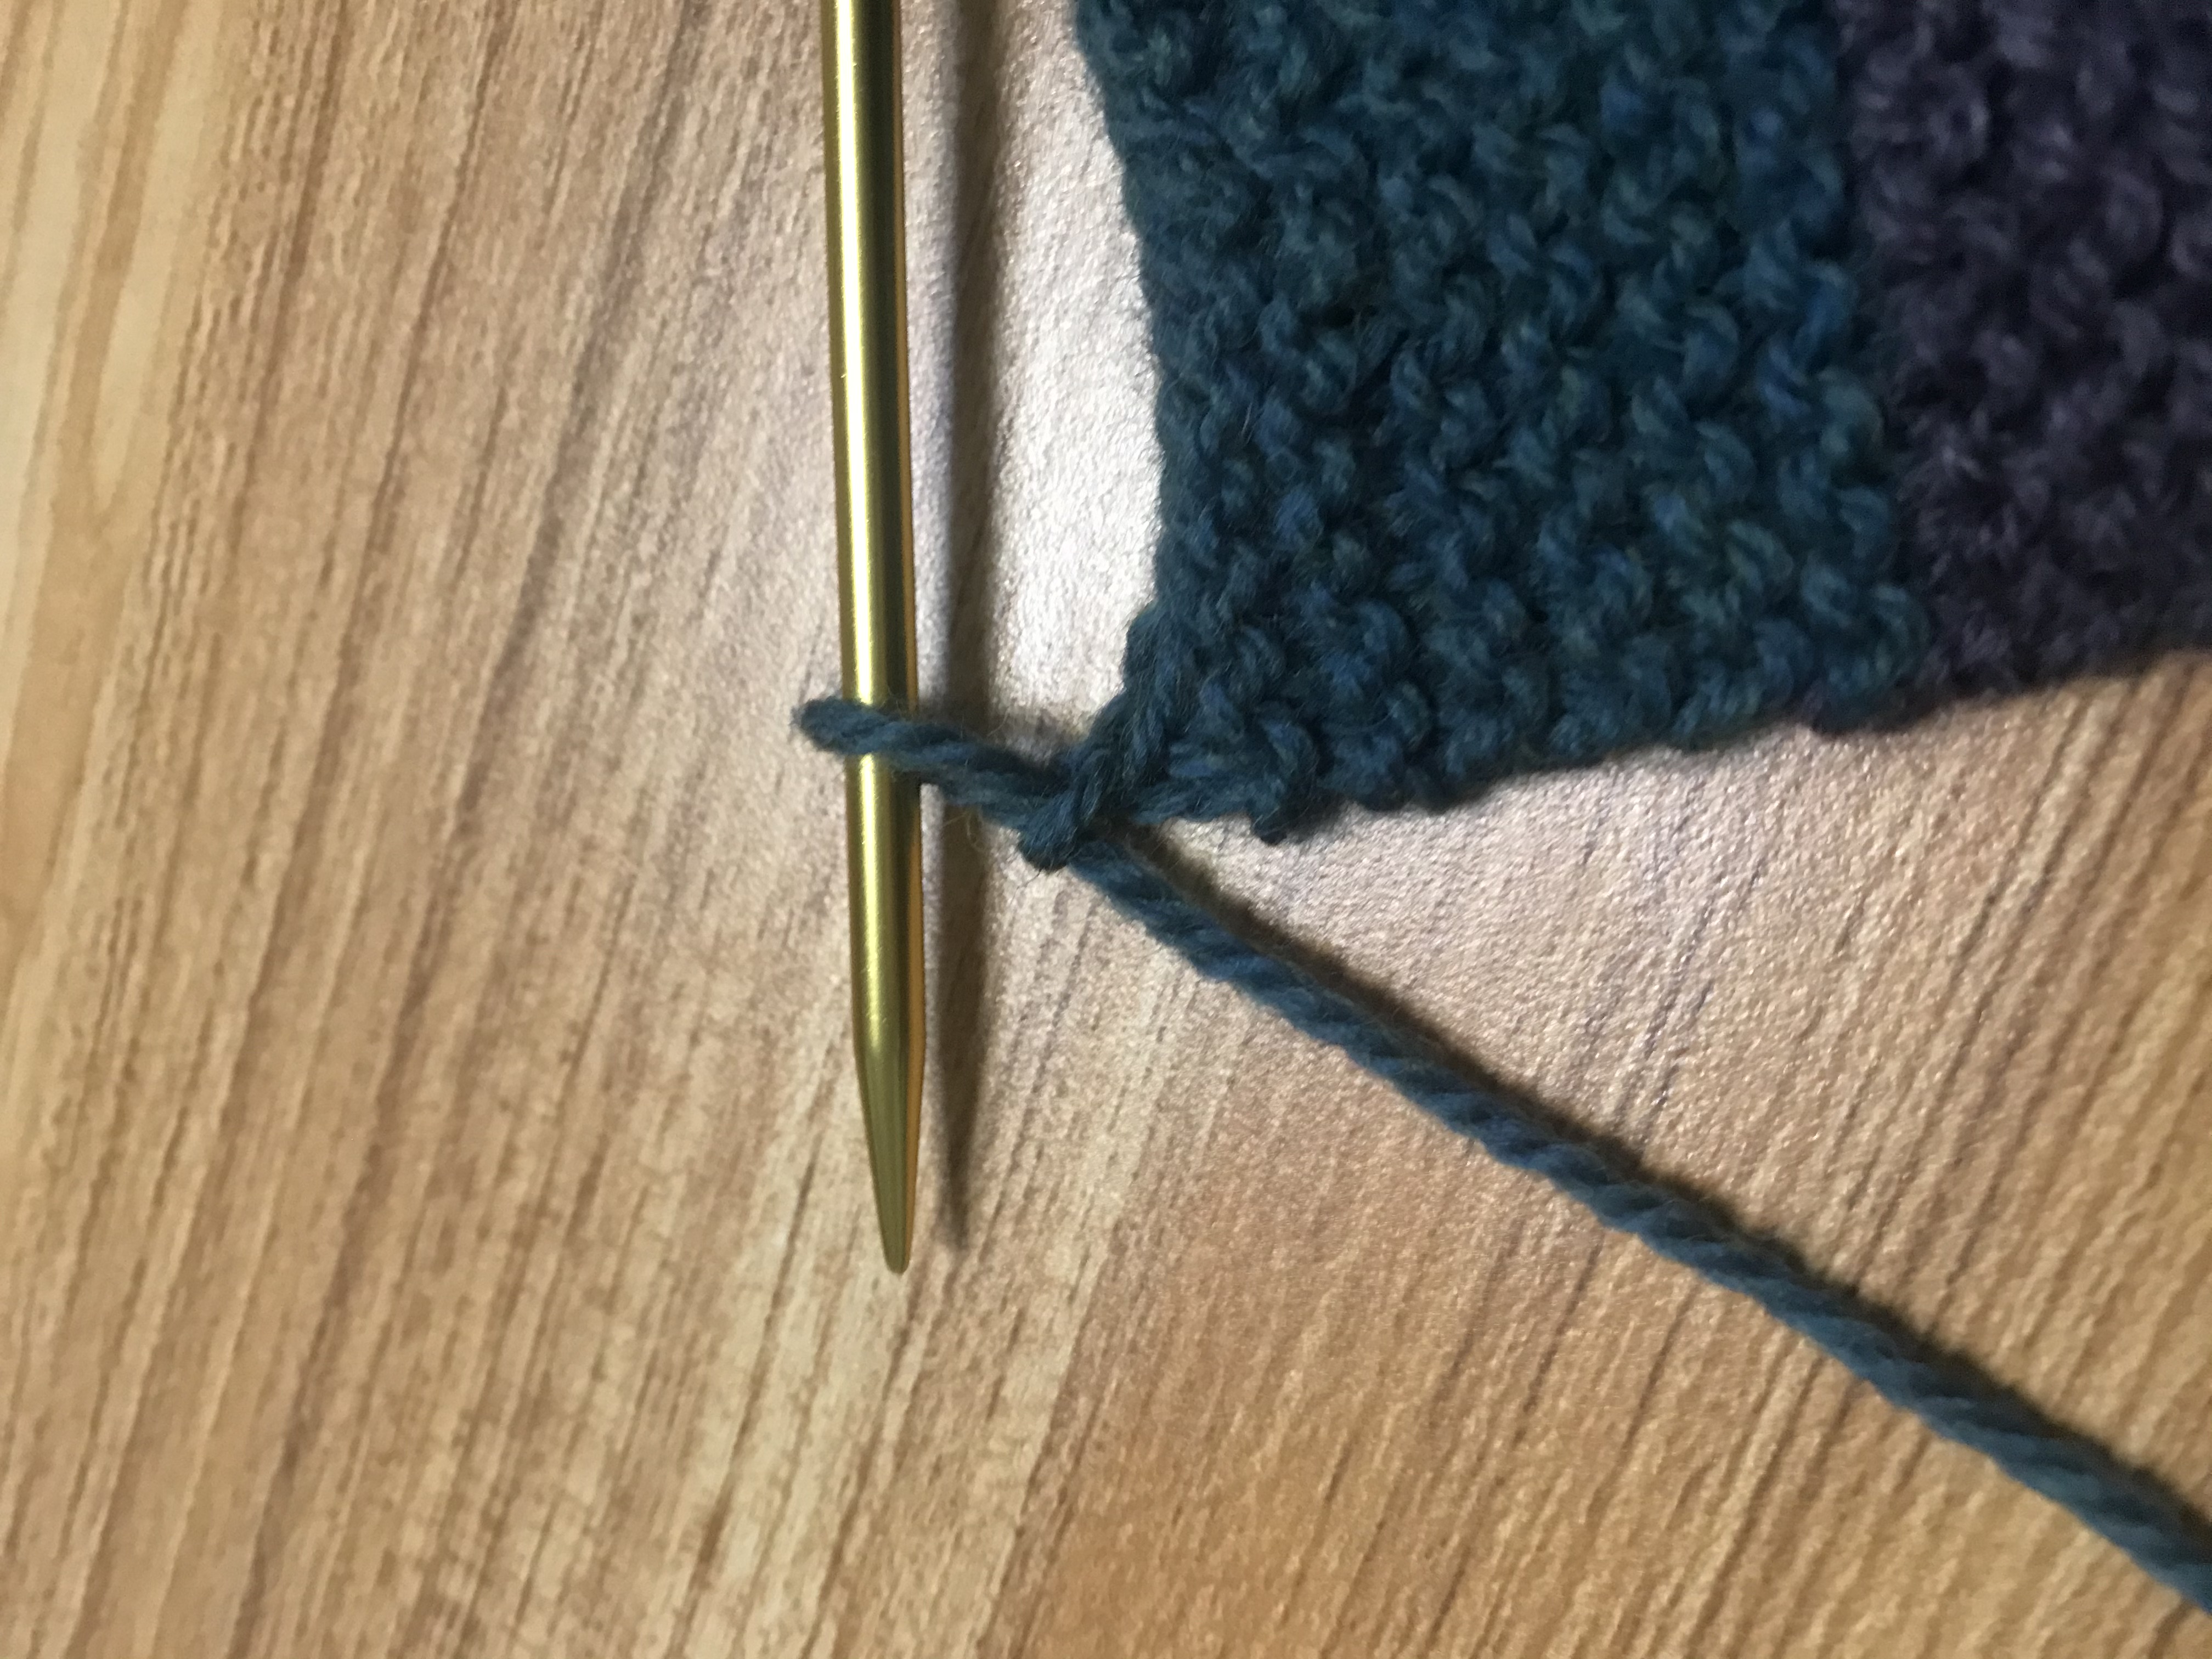
- Knit the next stitch so there are two on the needle, then repeat process of pulling back stitch off needle until last stitch. Knit last stitch with the tail, cut tail, pull through, tighten, and tuck tail.
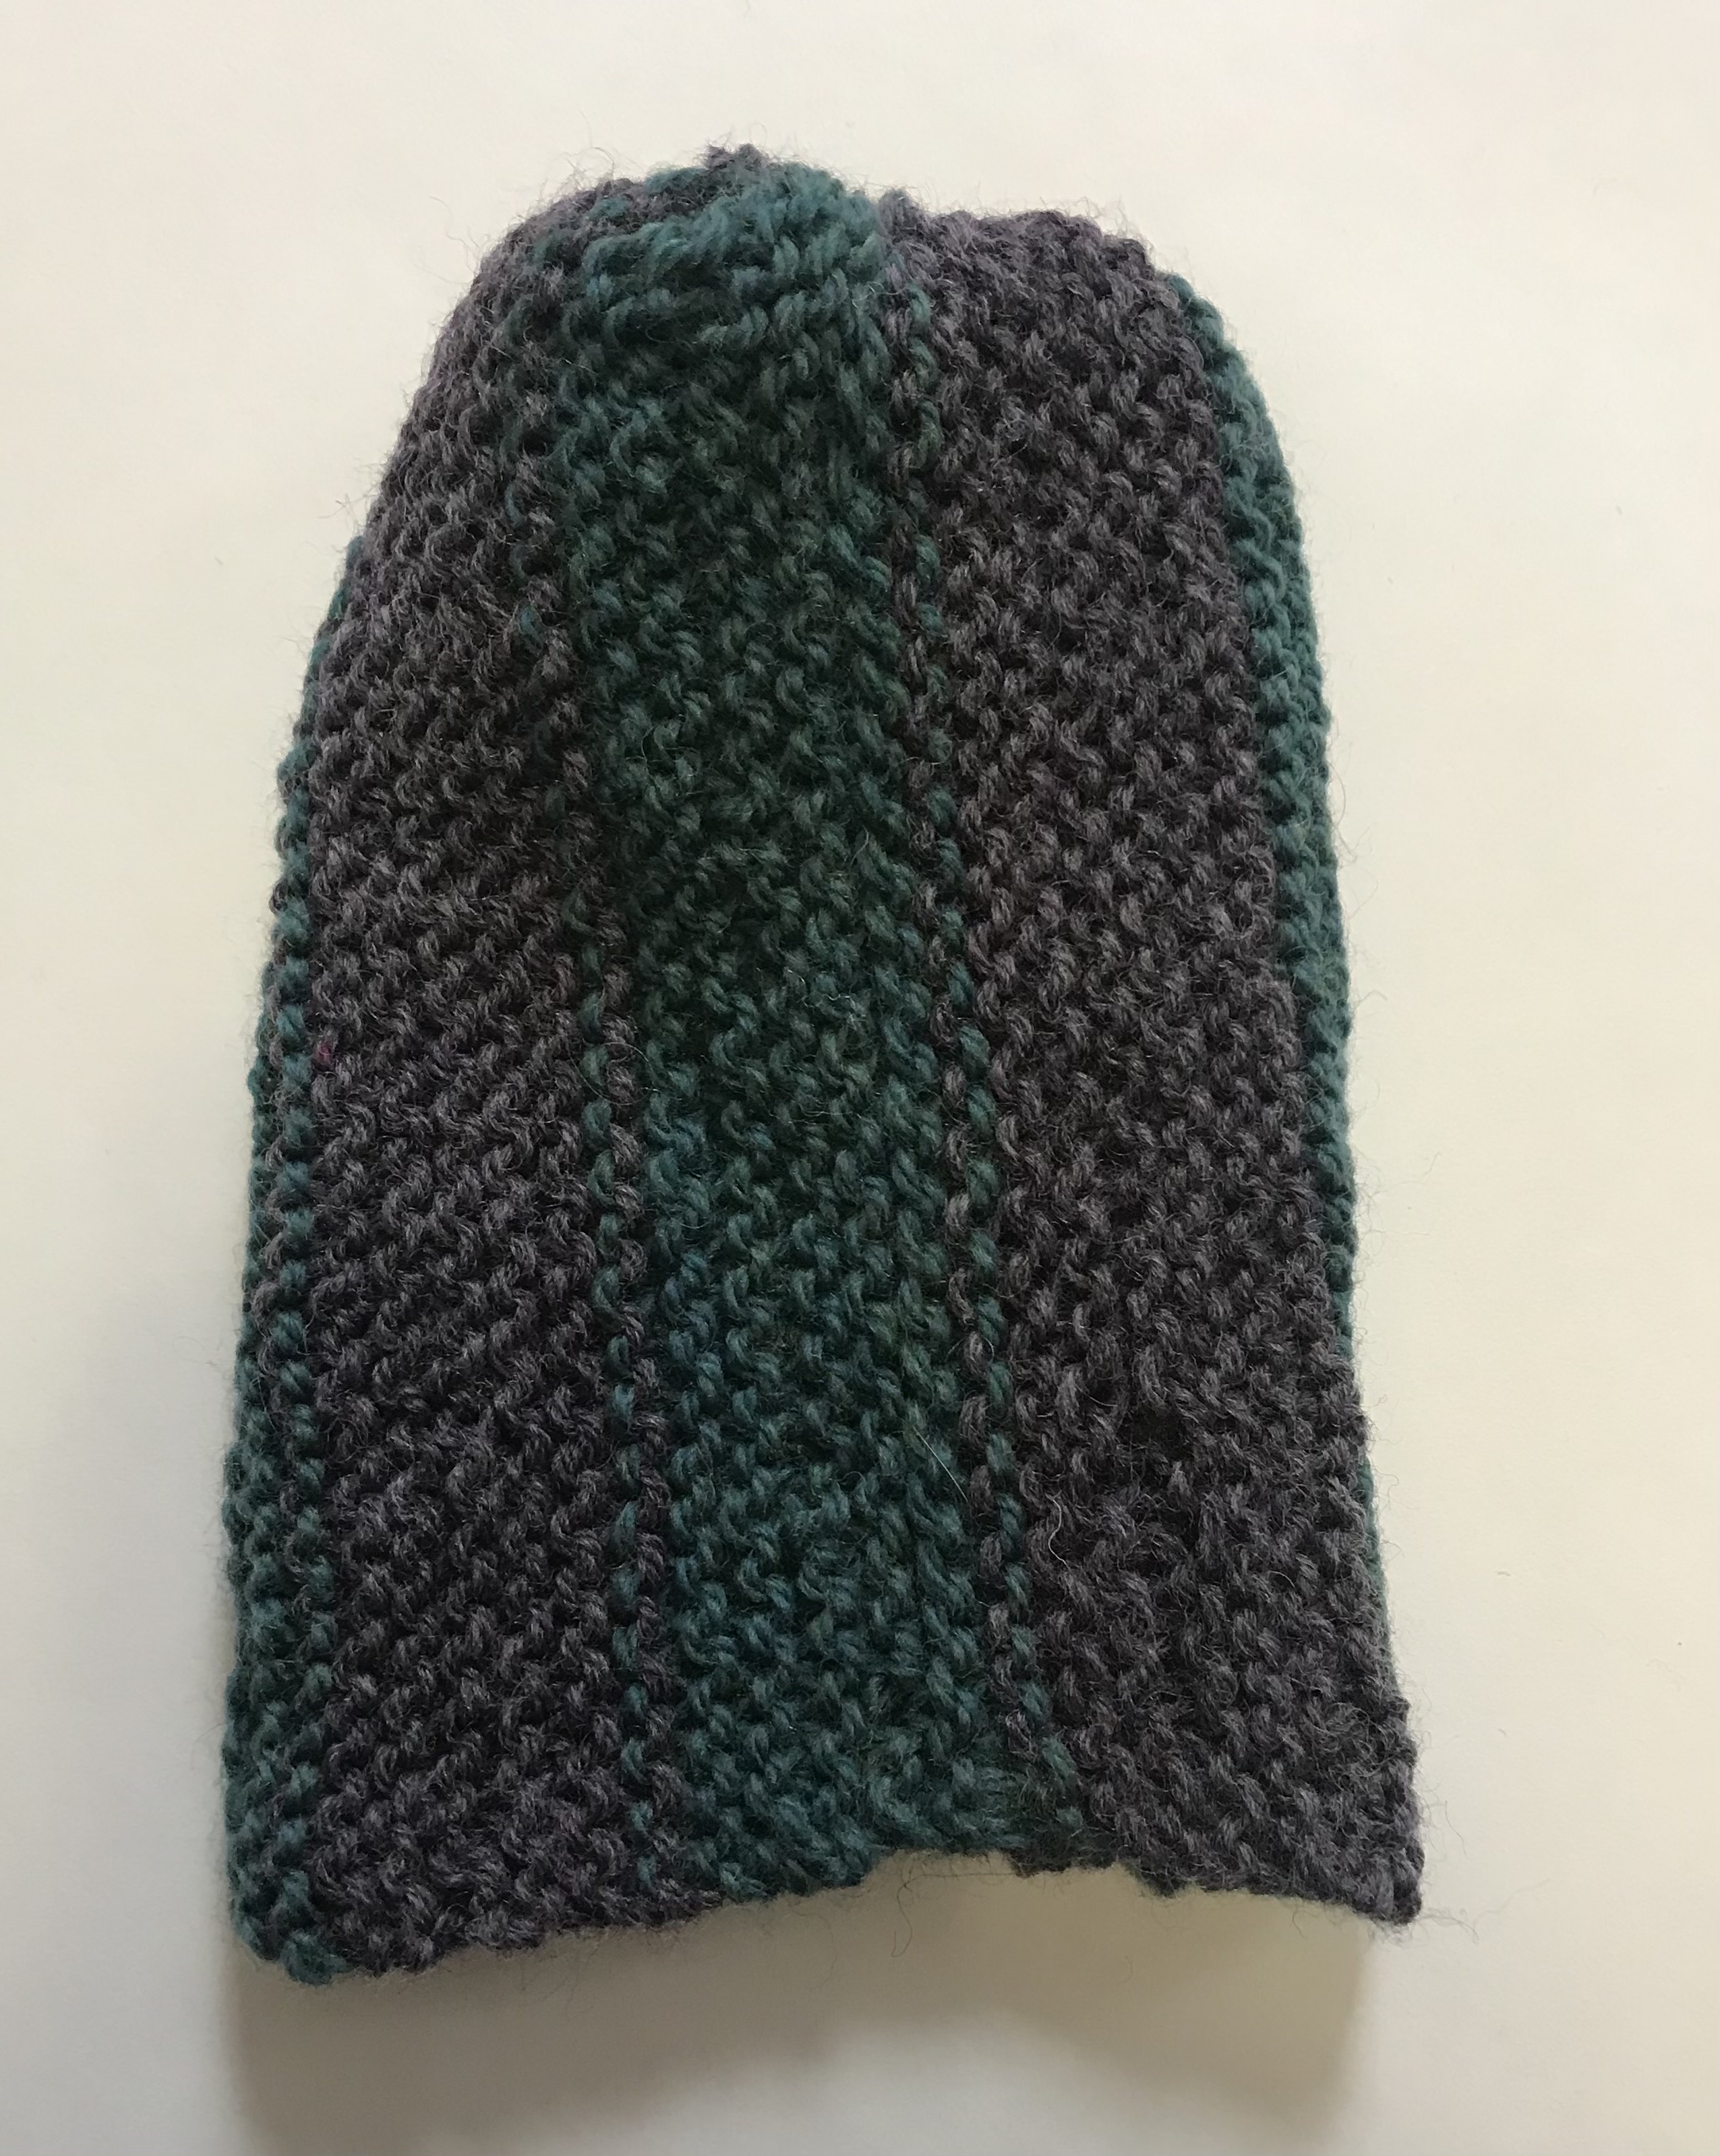
- Fold the rectangle in half with the back (inside of hat) facing out, and sew up the side with a yarn needle. At end knot the string to secure it and tuck in end, now you have a cylinder.
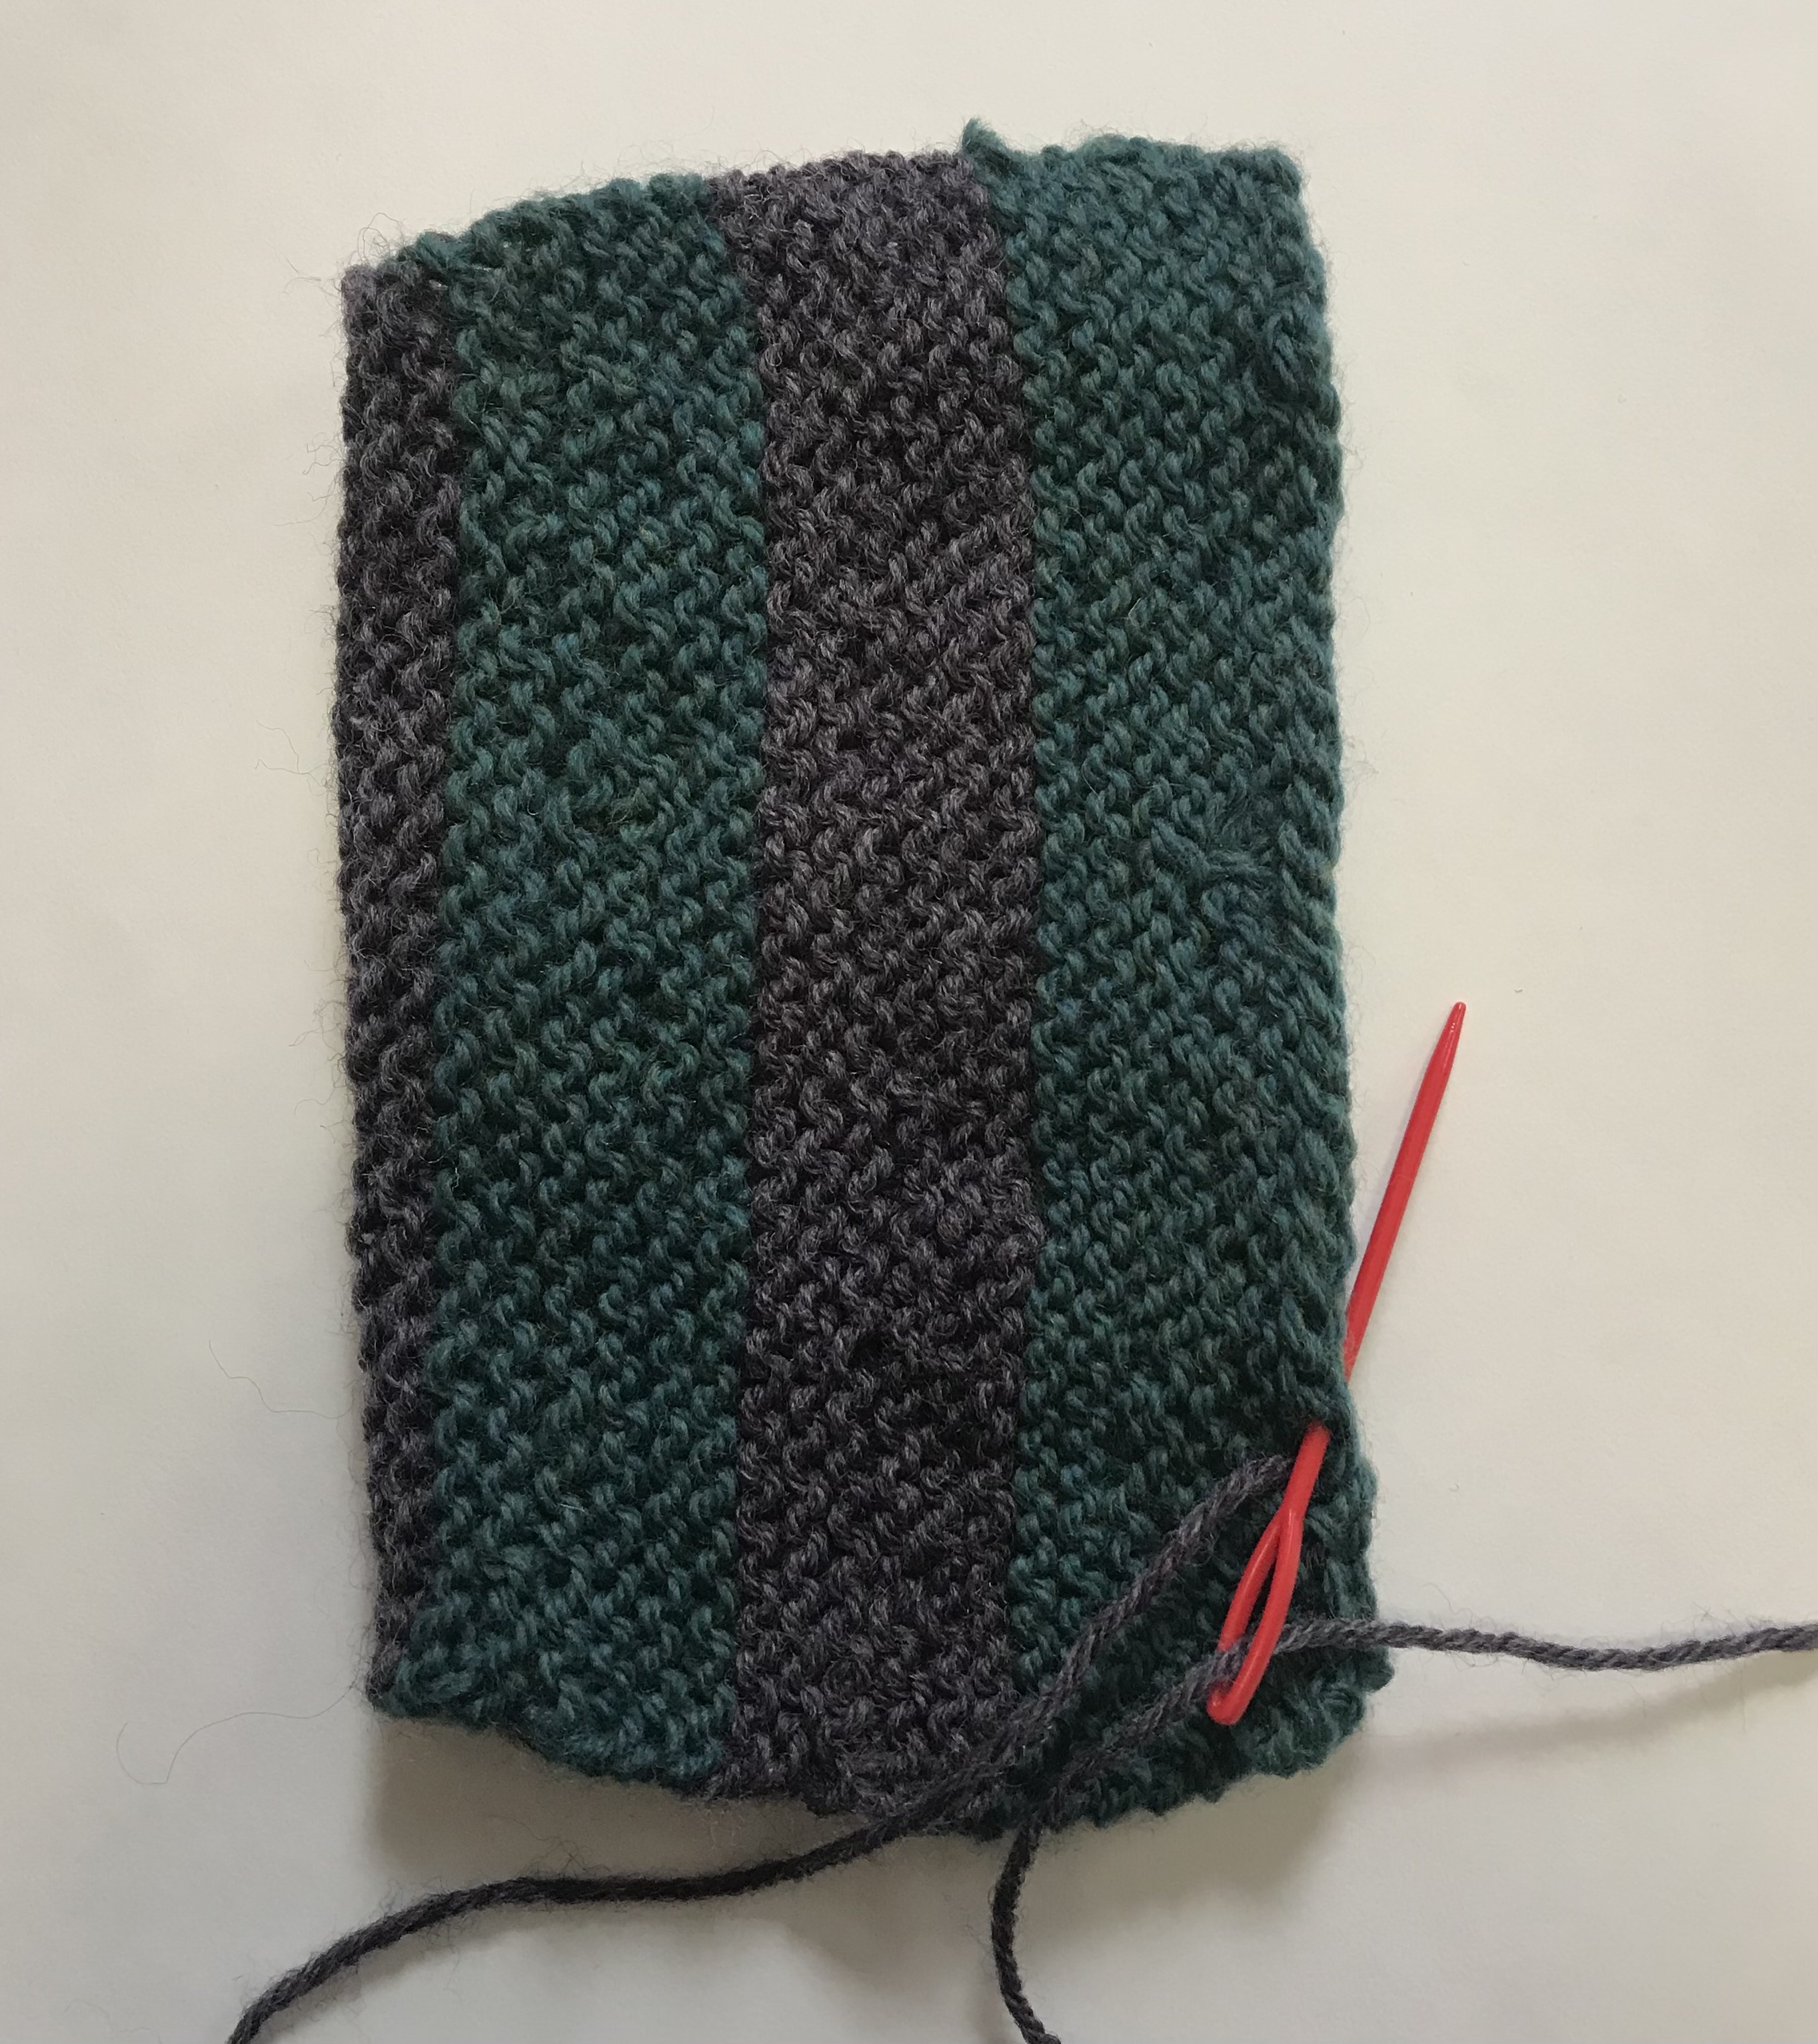
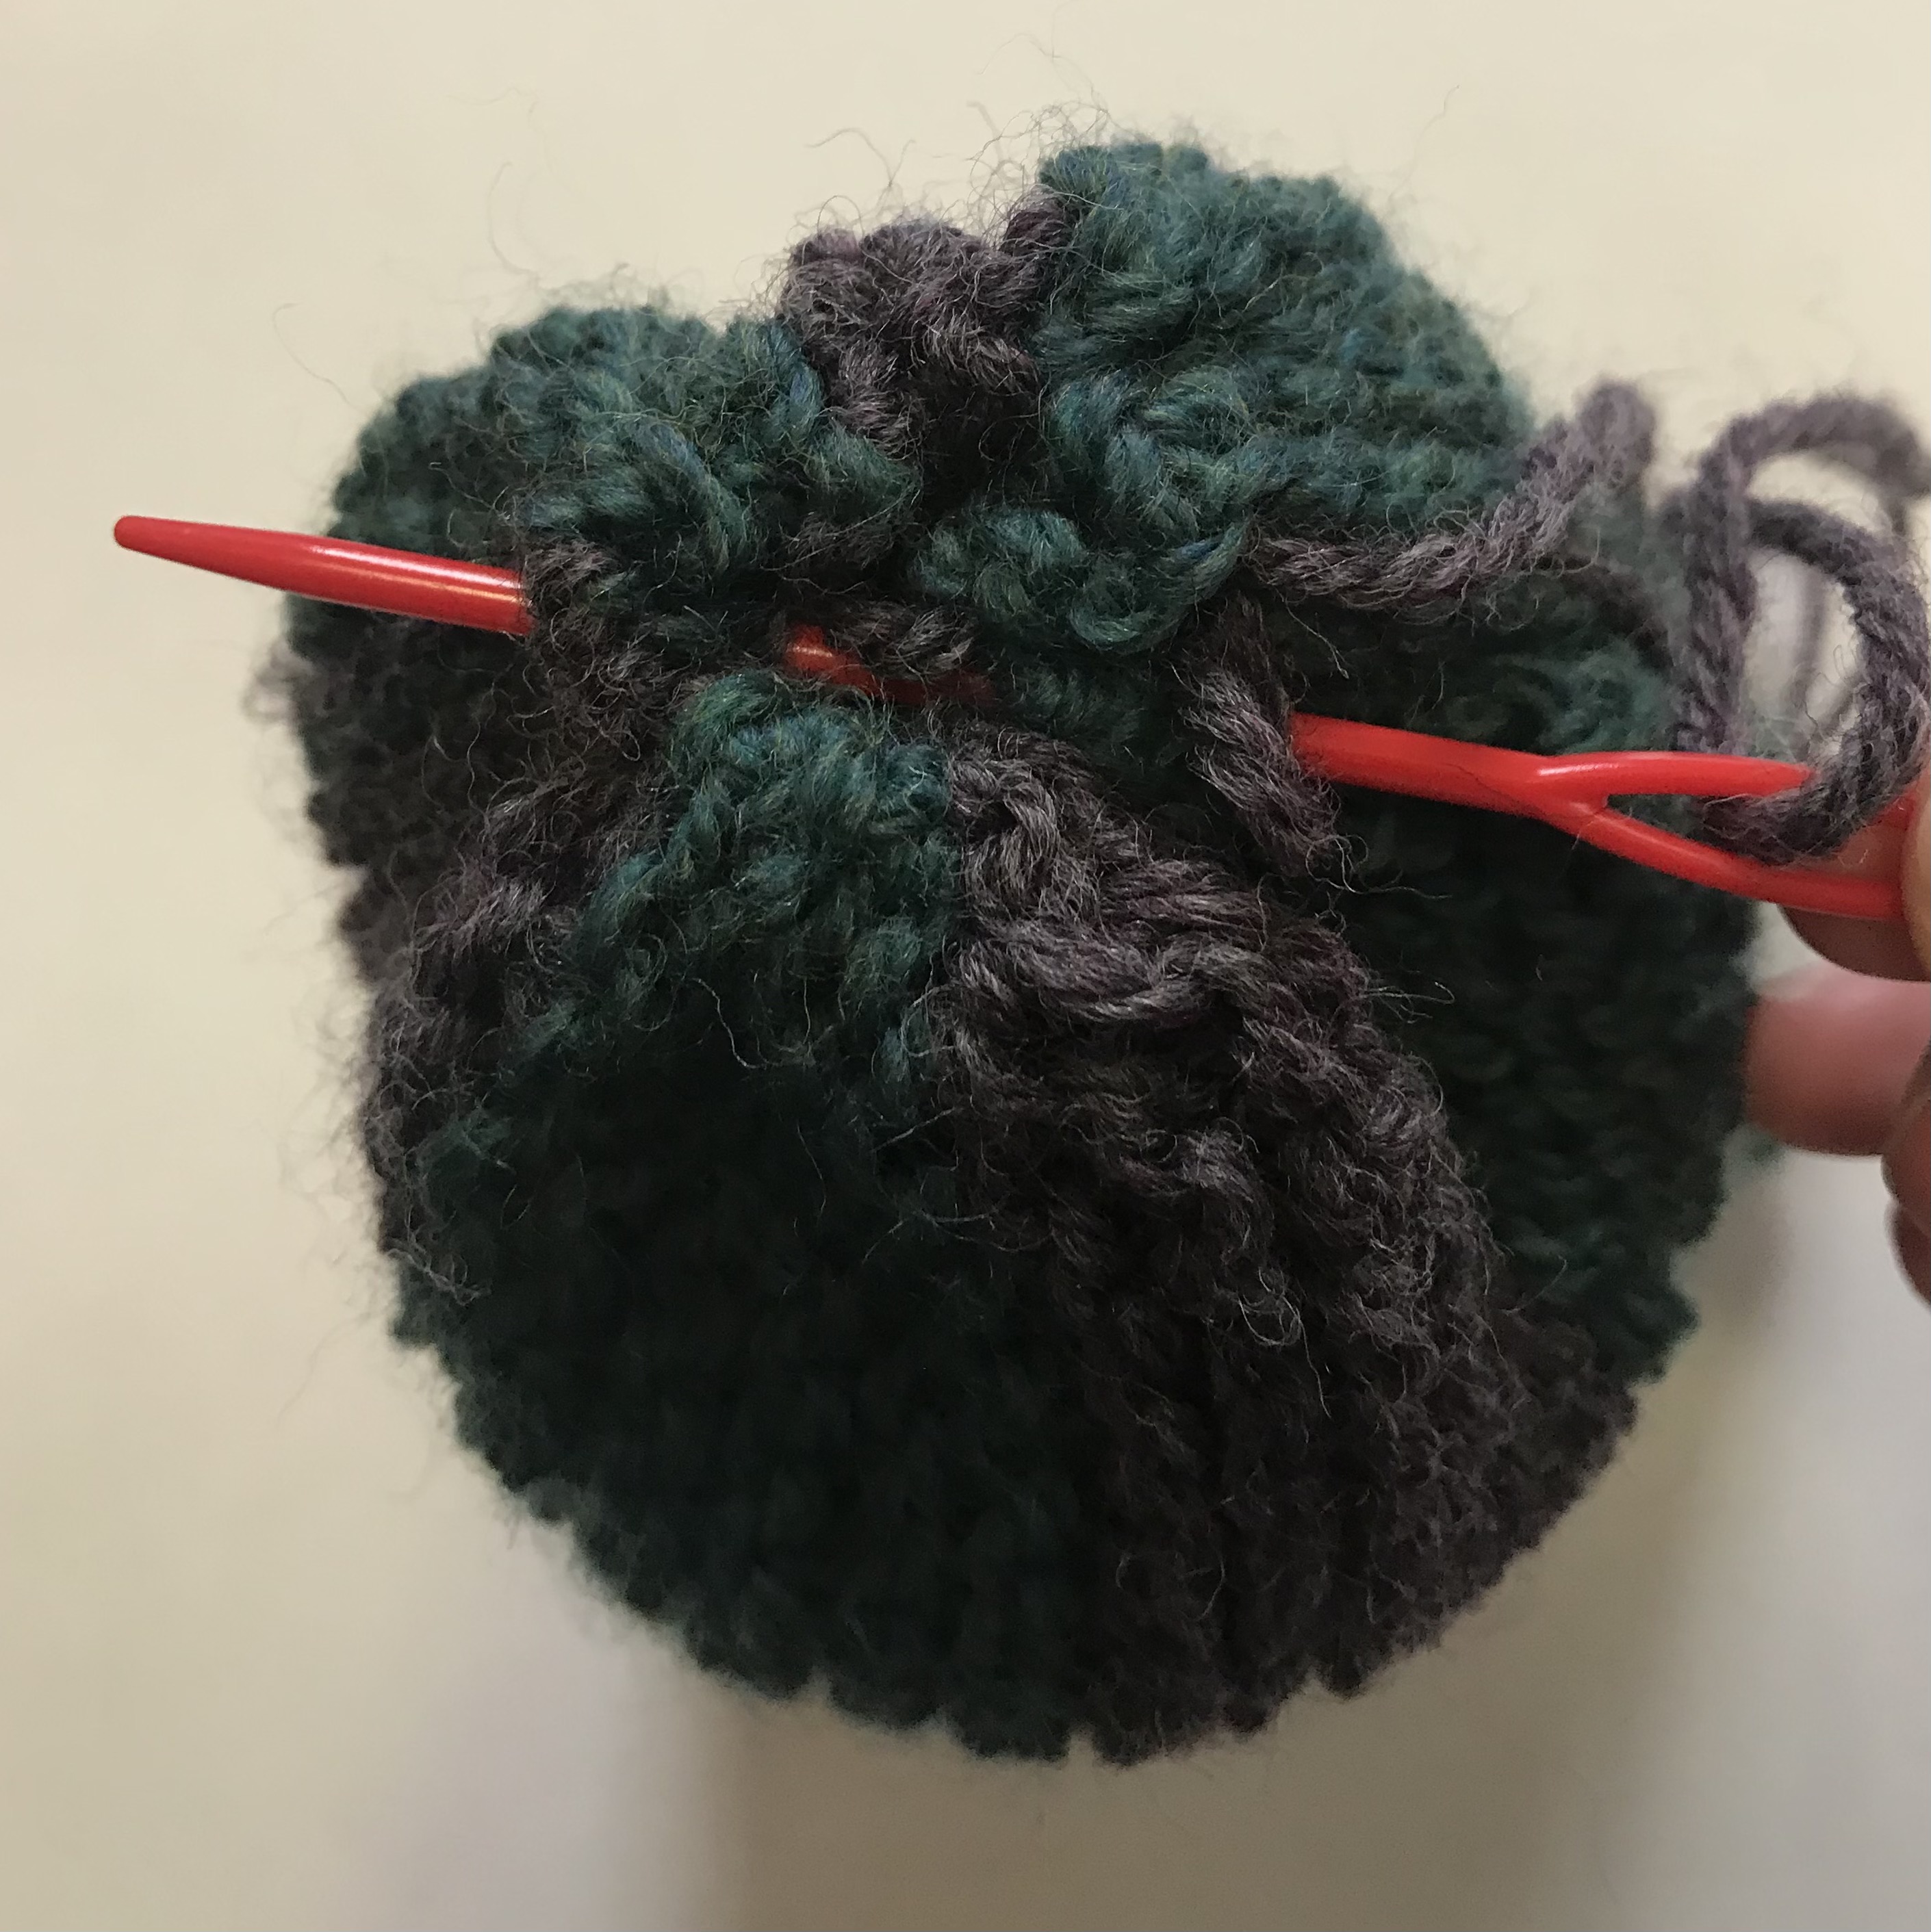
- Cut new length of string and weave it through the stitches at the top of the cylinder
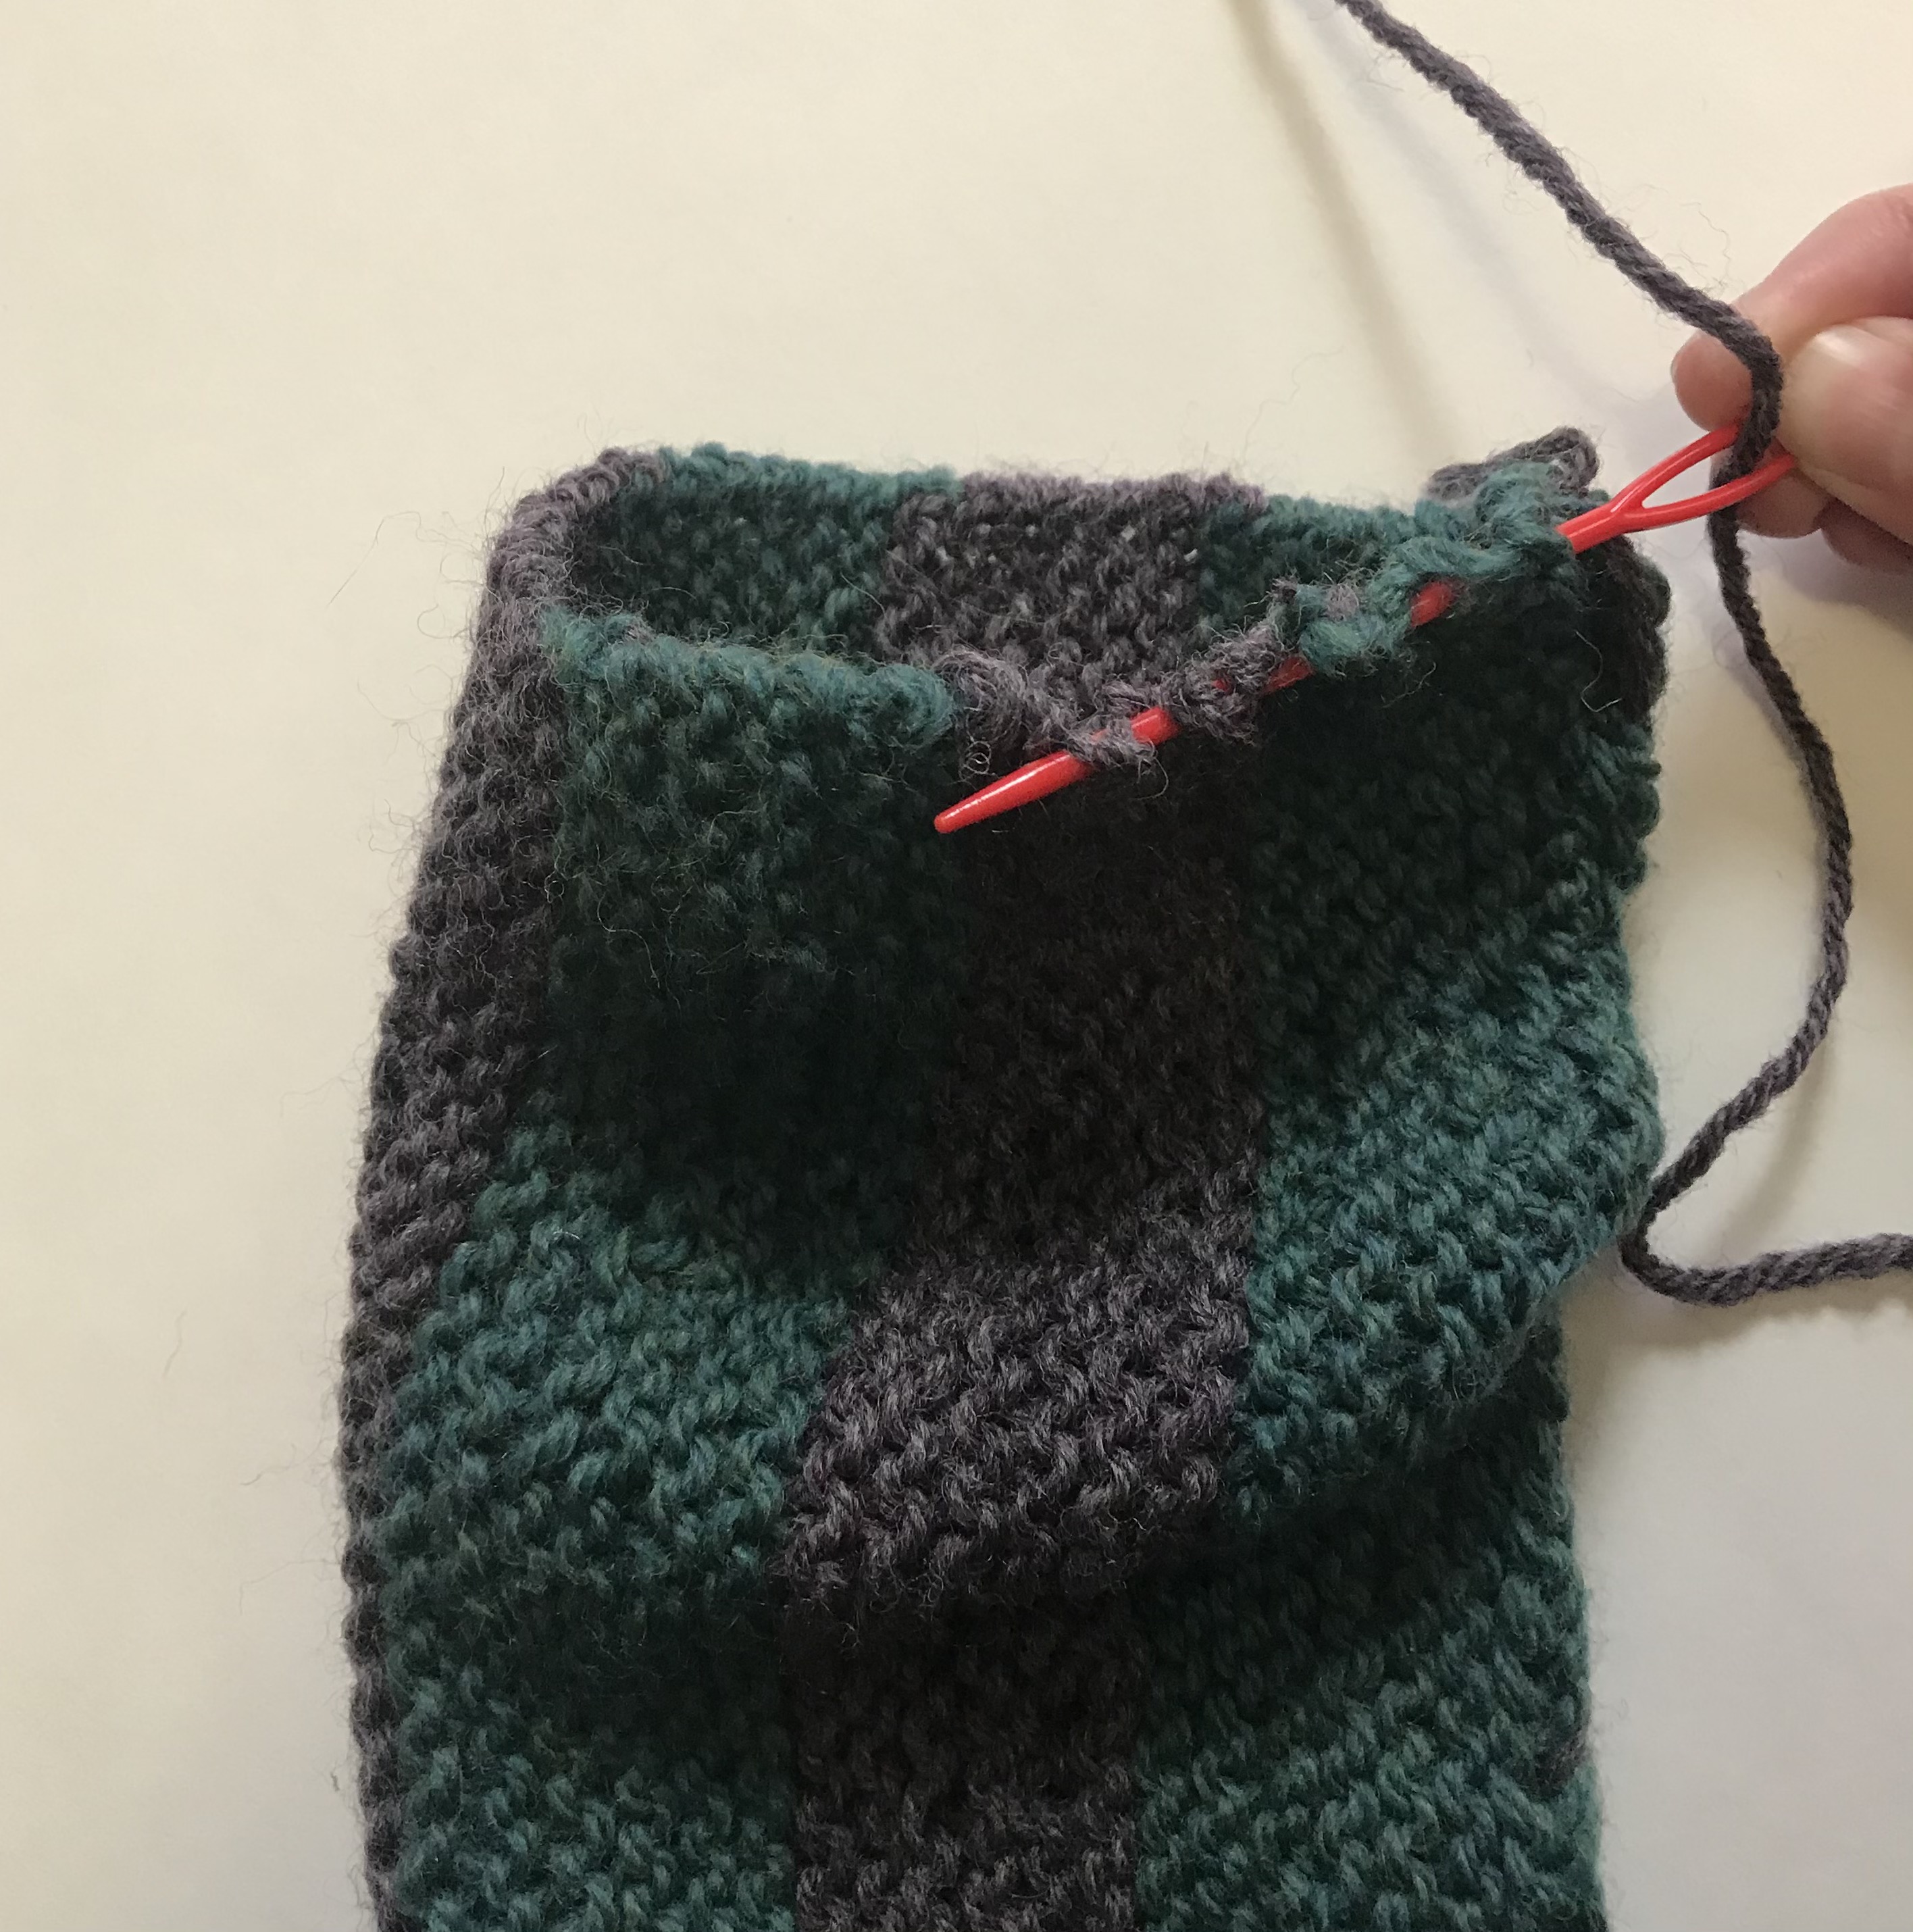
- Pull string to synch cylinder into hat shape
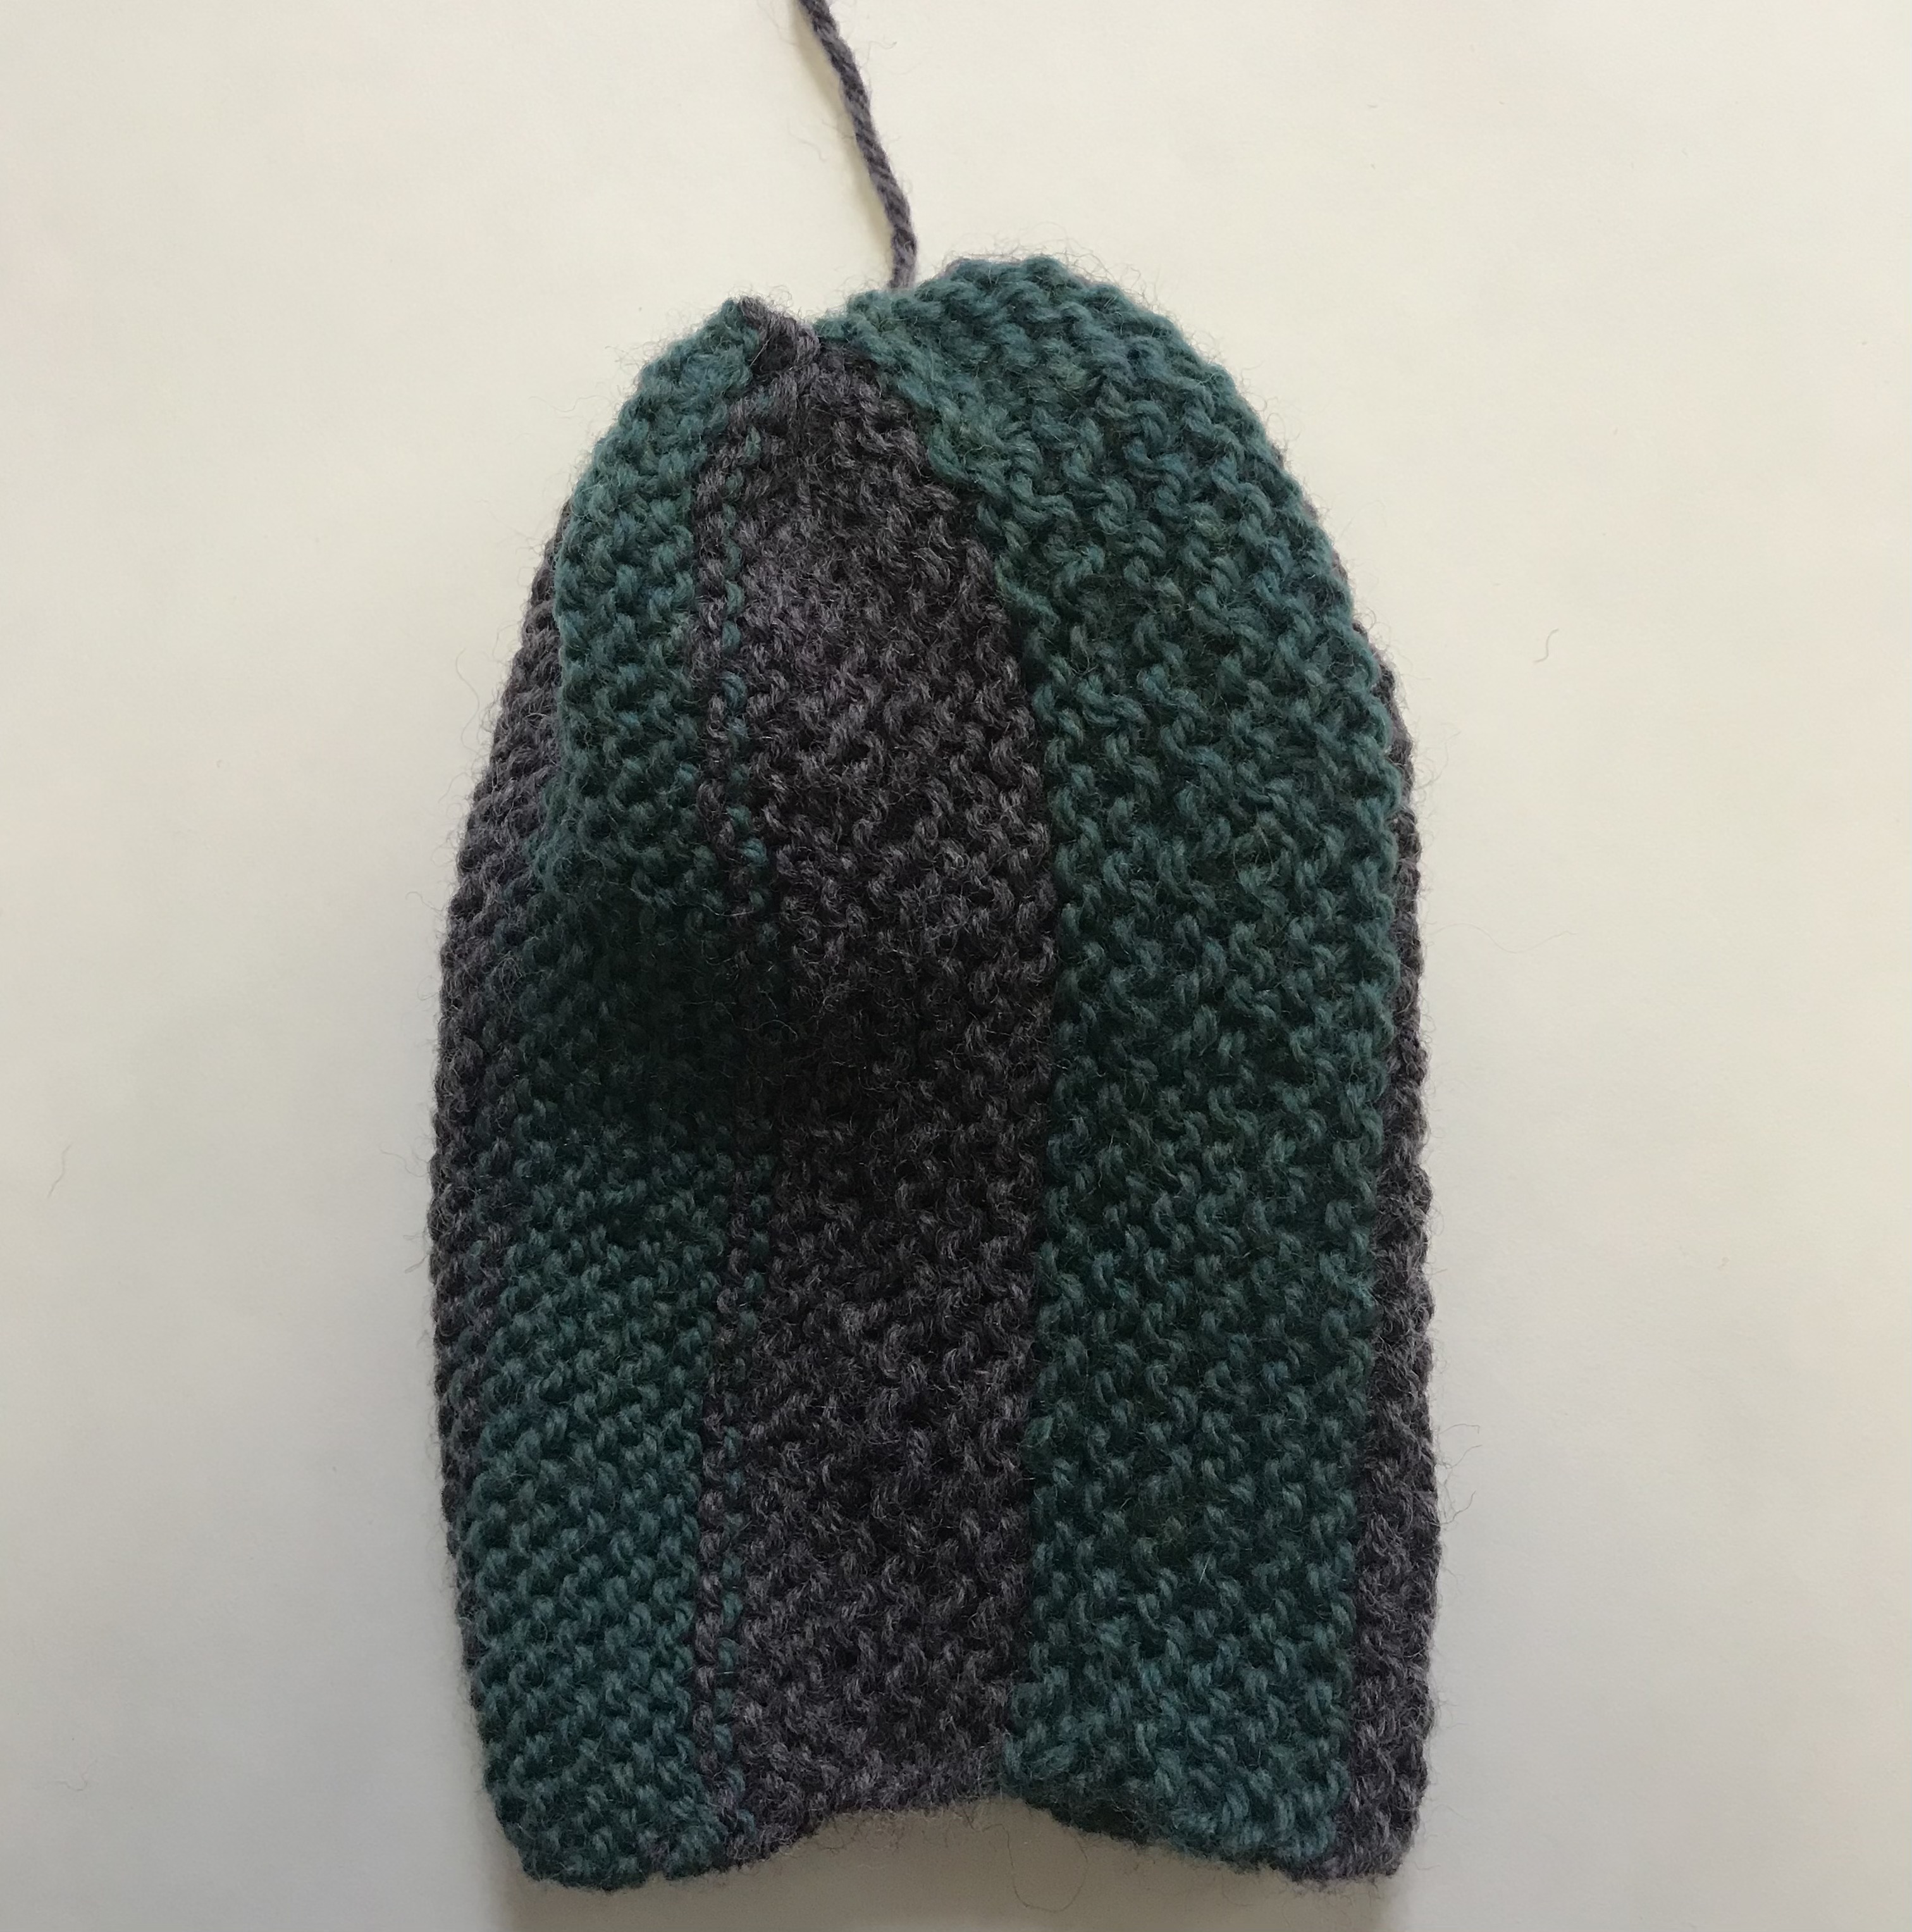
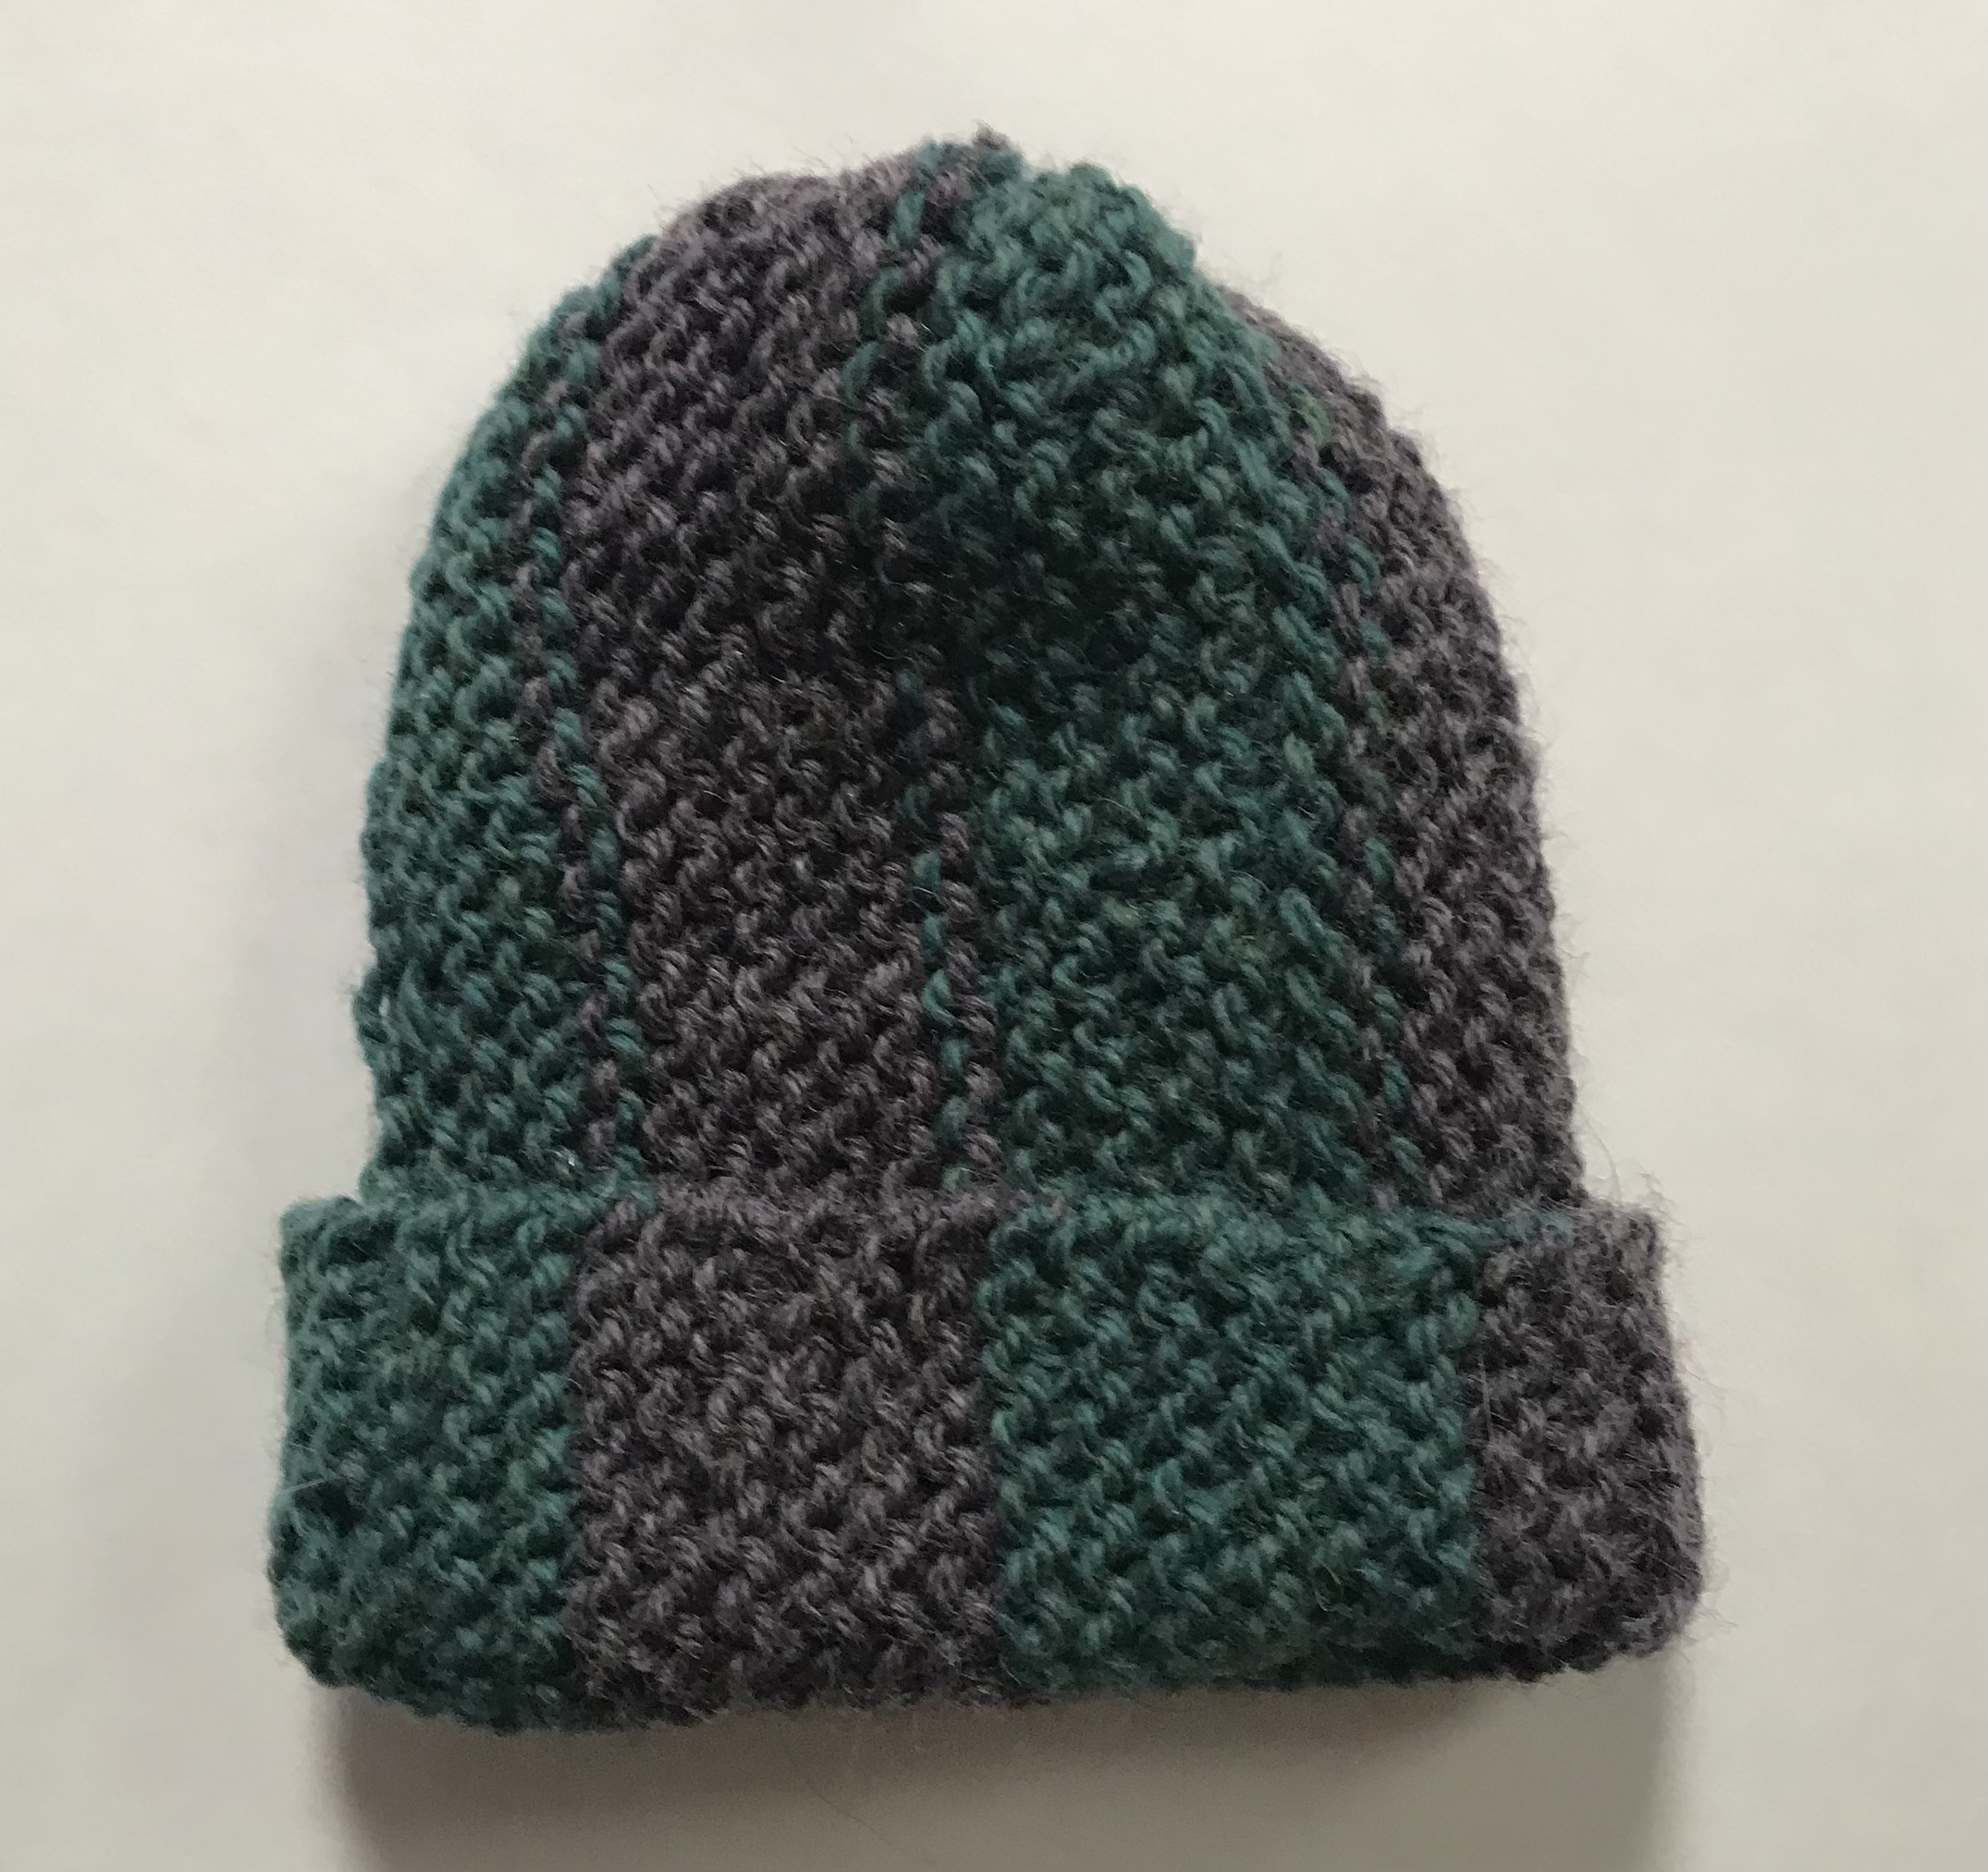
- Knot the string (you may want to stitch back and forth over the hole at the top to help close it up), tuck the end, flip the hat right side out, and you are done!
1,231 people have seen this awesome page!